Where can you use stamped concrete in your home?
Wherever you choose to place stamped concrete, your home will undoubtedly stand out among the neighbors. Not only that, but you'll also significantly enhance the overall ambiance! It exudes elegance in abundance. If you're aiming to leave an unforgettable impression on your visitors, this decorative technique is guaranteed to deliver. But where exactly can you utilize this innovative material? Here are some of the most common outdoor applications that are sure to make a lasting impact:
- At the Entryway: Create a grand entrance that welcomes guests with style and sophistication.
- In the Patio: Transform your outdoor space into your personal oasis where you can relax and unwind.
- On the Terrace: Enjoy delightful gatherings with friends and family, or simply bask in the sunlight while indulging your senses.
- Around the Pool: Enhance safety with a slip-resistant surface that also adds aesthetic charm to your poolside area.
- In Your Dream Garden: Border your beautiful garden of rose bushes, ivy crawling up your walls and a small pond at its center with stamped concrete, adding a touch of natural beauty to your outdoor sanctuary.
- In the Garage: Give your vehicle a touch of luxury with a durable and visually appealing stamped concrete surface that can withstand heavy traffic.
While less common, but still visually stunning, stamped concrete can also be used indoors. The reluctance to use this material indoors stems from not knowing how to fully leverage its design potential. However, the truth is that, due to its characteristics, it's often used on walls, a technique known as vertical stamped concrete and it can create the following visual effects:
- In the living room, for an industrial chic vibe: Picture your living space transformed into a chic and modern haven with a wall that mimics stone or slate. You'll inject an absolutely captivating urban and avant-garde touch, elevating the ambiance to a whole new level of sophistication.
- In the kitchen, for a timeless rustic style: The aroma of freshly brewed coffee brings warmth to any home, and stamped concrete in the kitchen is no exception. It's a versatile decorative element that visually contrasts with other fixtures, offering practicality and durability while infusing a natural touch into your living space, fostering a cozy and inviting ambiance.
- In the bathroom, to craft your personal sanctuary: Recall that picturesque hotel with its captivating bathroom walls that whisked you away to another realm? Those were crafted with stamped concrete, and now you can recreate that tranquil retreat in the comfort of your own home, no travel required.
How to properly make stamped concrete: step by step
Here are the steps to follow to make printed concrete properly. It's a simple process but it can only be carried out by a professional with experience in this sector.
- Prepare the Surface: Remove any debris like leaves or stones. Ensure the surface is level using appropriate tools and materials. Apply a polyethylene film to prevent dehydration and install perimeter joints.
- Pour Concrete: Add polypropylene fibers to the concrete mix and pour it evenly onto the prepared surface. Reinforce with steel mesh and include joints at perimeters and where it meets fixed elements.
- Level and Screed: Compact and bleed the concrete using a roller. Smooth and level the surface using a trowel or screed.
- Trowel Concrete: While the concrete is still fresh, trowel it to achieve a compact and smooth finish.
- Apply Wearing Course or Color Concrete: Sprinkle the wearing course for the final color or add a powdered pigment to the concrete mix for a colored finish.
- Trowel Wearing Course: Work the material into the concrete using a trowel until the desired finish is achieved.
- Smooth Surface: Eliminate porosity and ensure a smooth surface using a steel trowel. Use an edging trowel for the edges.
- Apply Release Agent: Apply a release agent to prevent the stamped concrete mold from sticking.
- Stamp Concrete Mold: Stamp the chosen mold onto the pavement to create the desired texture and pattern.
- Remove Release Agent: Make any expansion joints before 24 hours and remove the release agent after 48 hours.
- Clean Stamped Concrete: Rinse the pavement with water after 72 hours and allow it to dry.
- Seal Stamped Concrete: Apply a sealant to protect the pavement once the surface is dry.
How long does stamped concrete last?
Stamped concrete is a durable material designed to last a lifetime. It's one of the most resilient systems available and requires minimal care and maintenance. However, its lifespan can vary depending on factors such as the level of traffic, exposure to weather conditions, and the quality of materials used during installation.
With proper care and maintenance, including regular cleaning and periodic reapplication of protective coatings like our Smartcover Varnish Repair every 3-4 years, stamped concrete can maintain its pristine condition for an average of 20 to 30 years or even longer.
How thick should stamped concrete be?
The thickness of stamped concrete is a crucial element to ensure its durability and stability over time. Depending on the type of traffic it will be exposed to (pedestrian, light vehicular, moderate vehicular, or heavy vehicular), it's important to adhere to a specific thickness requirement, which should never be less than 10 centimeters.
Considering this distinction, the concrete imprint should have a minimum thickness of 10 centimeters for pedestrian traffic and about 15 centimeters for vehicular traffic.
Is stamped concrete slip-resistant?
Stamped concrete is indeed slip-resistant. This feature is achieved through the careful installation of a mold with a high degree of slip resistance and the application of a suitable sealer. It's not surprising that many people choose this material for areas around pools, as it effectively prevents slips and falls.
Is stamped concrete waterproof?
Stamped concrete, on its own, doesn't offer waterproofing, but with the right treatment, it can ensure complete protection against water. The key? Sealing it with a high-quality varnish that provides this quality.
As stamped concrete can be made waterproof, it's particularly suited for outdoor use since it can withstand heavy or moderate rain without altering its aesthetic appearance. This is especially advantageous in areas around pools, where the waterproofing capability of stamped concrete proves beneficial.
To sum up, stamped concrete can be made waterproof, but it needs to be sealed with a quality varnish to ensure complete protection against water.
How much does a square metre of stamped concrete cost?
In Spain, the cost of stamped concrete typically ranges between 40 and 100 euros per square meter, although this can vary based on various factors. It's important to consider that the final price may be higher or lower depending on the unique circumstances of each project.
Factors such as the size and complexity of the project, the quality of materials used, local climatic and geographical conditions, and labor rates can all significantly influence the price of stamped concrete per square meter.
Can stamped concrete be applied indoors?
Stamped concrete can and should be applied indoors. As mentioned earlier, there are many options for using this material in homes. However, the finishes may vary depending on whether it is applied to floors or walls. Floors typically have more reliefs and recognizable textures, while walls may have smoother finishes.
How do you remove stamped concrete?
If you've grown tired of stamped concrete (hopefully not), you can remove it and replace it with pavers, microcement, or any other material you prefer. It's a feasible process but may seem challenging at first. There are several options for removing stamped concrete, but we recommend breaking the surface with a pneumatic hammer or compressor, or alternatively, with a drill equipped with a chisel. However, be cautious not to damage the base.
How long does it take to apply stamped concrete?
The typical timeframe for completing a stamped concrete project is two to three days. During the first day, we apply the concrete, add color, and imprint the molds. On the following day, we clean the pavement and apply the protective resin layer.
However, the actual duration of the stamped concrete application can vary based on factors such as the area to cover, the desired finish, the surface characteristics, any necessary leveling, and potential interruptions due to adverse weather conditions.
How do you clean stamped concrete?
Stamped concrete does not require deep or thorough cleaning, although this will depend on the amount of dirt built up on the surface or how dirty the pavement or vertical wall is. Regular cleaning is advised to address any dirt accumulation in the areas over time.
There are several methods for cleaning stamped concrete:
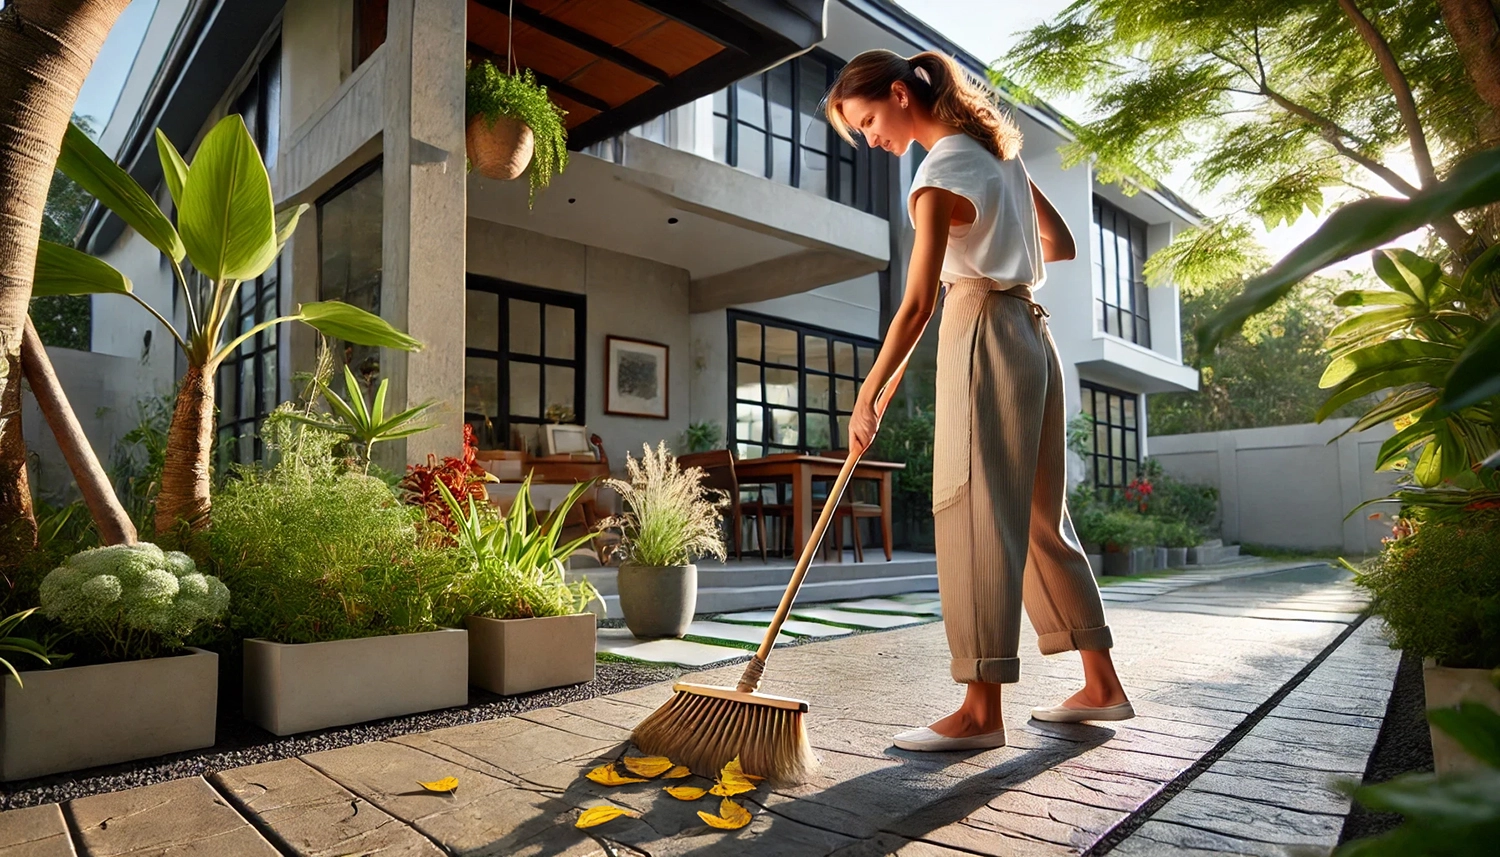
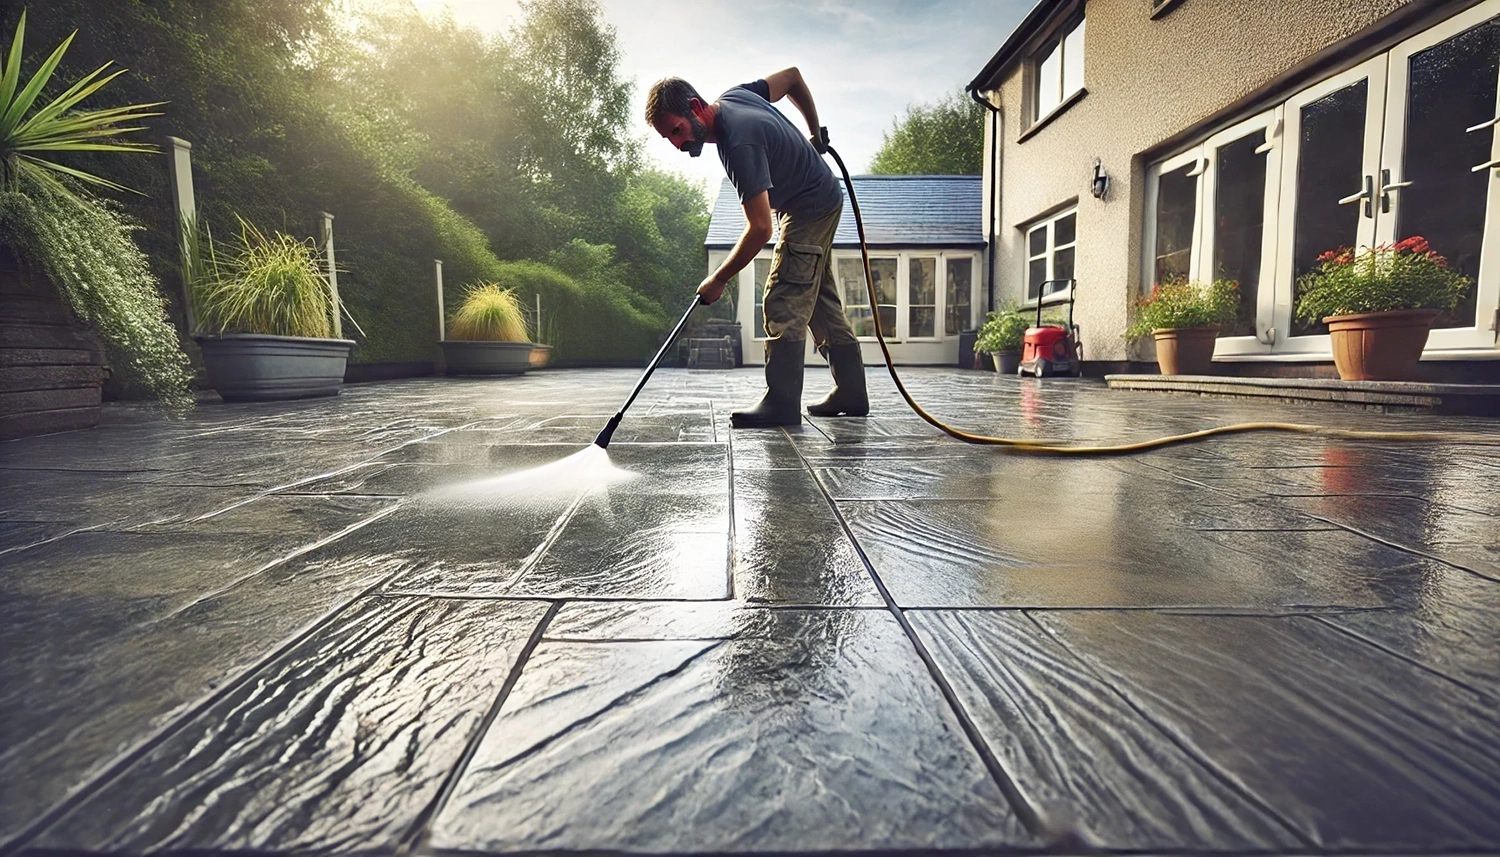
- Sweeping and washing with a pressure washer for everyday dirt (leaves, dust, superficial residues, etc.).
- Using an emulsifying degreaser to remove stains and efflorescence.
- Using a neutral pH detergent such as Smart Cleaner.
As for the tools for cleaning stamped concrete, you will need a good bristle brush, a broom, a mild detergent, a garden hose, and a pressure washer.
How do you remove white stains in stamped concrete?
White stains on stamped concrete are a relatively common phenomenon known as efflorescence. Depending on the color of the pavement, these stains may be more or less noticeable. Efflorescence is a natural chemical reaction unrelated to the quality of the product used. The good news is that there are solutions to remove these white stains from stamped concrete:
- White stains from lime or saltpeter: These stains can be removed using an acid that targets them directly. However, using such acid can also affect the concrete. Vinegar is the mildest option, but for tougher stains, a slightly stronger acid like muriatic acid can be used. It's essential to dilute it with water to avoid damaging the stamped concrete. Another effective method is using a pressure washer with a suitable cleaning product and scrubbing the surface with a natural bristle brush to remove efflorescence.
- White stains from poor sealer application: These stains may appear shortly after pavement installation due to sealing during rainy weather, using a solvent-based sealer in winter when the pavement is damp, or applying an excessive amount of sealer. To remove these stains, the surface needs to be cleaned thoroughly, and the sealer should be reapplied correctly.
How do you repair stamped concrete?
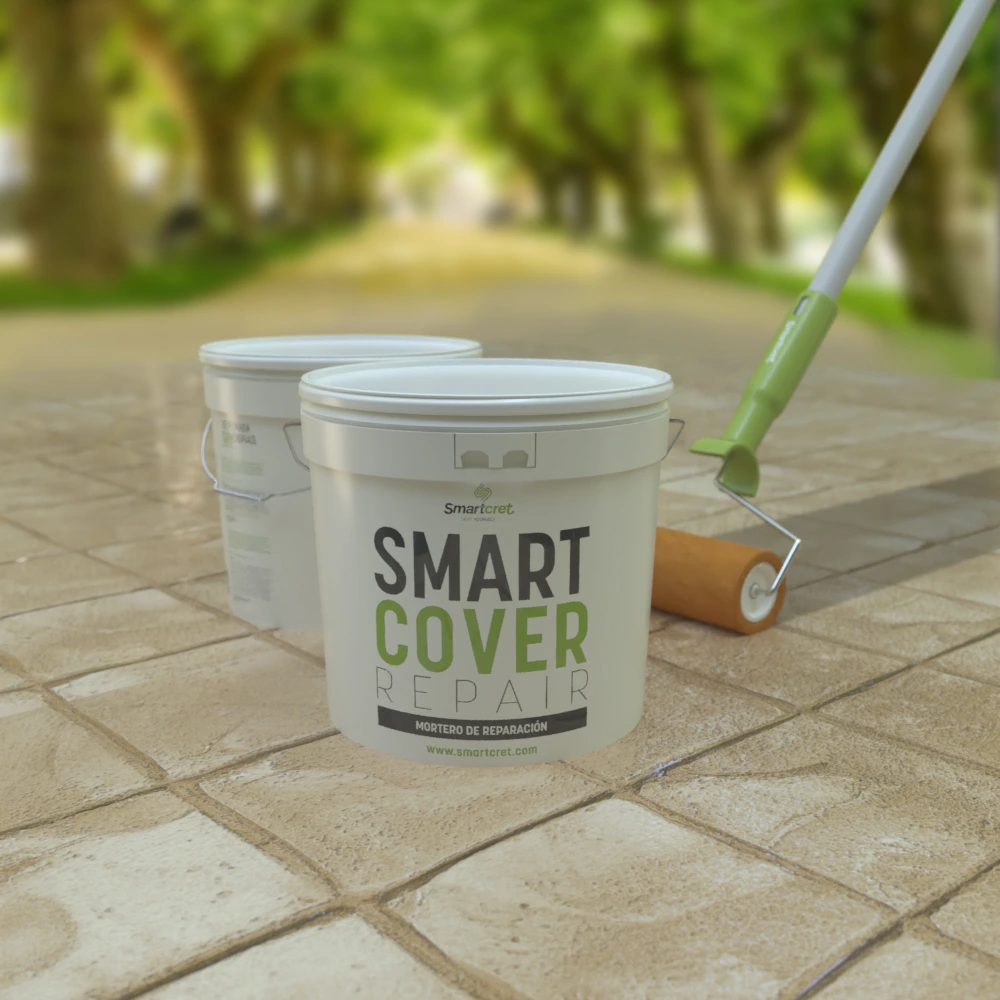
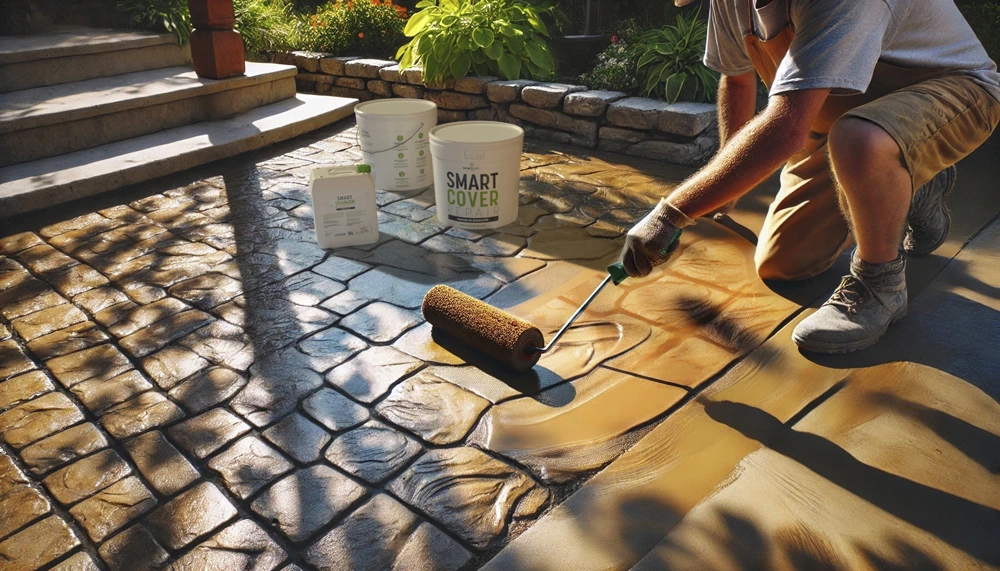
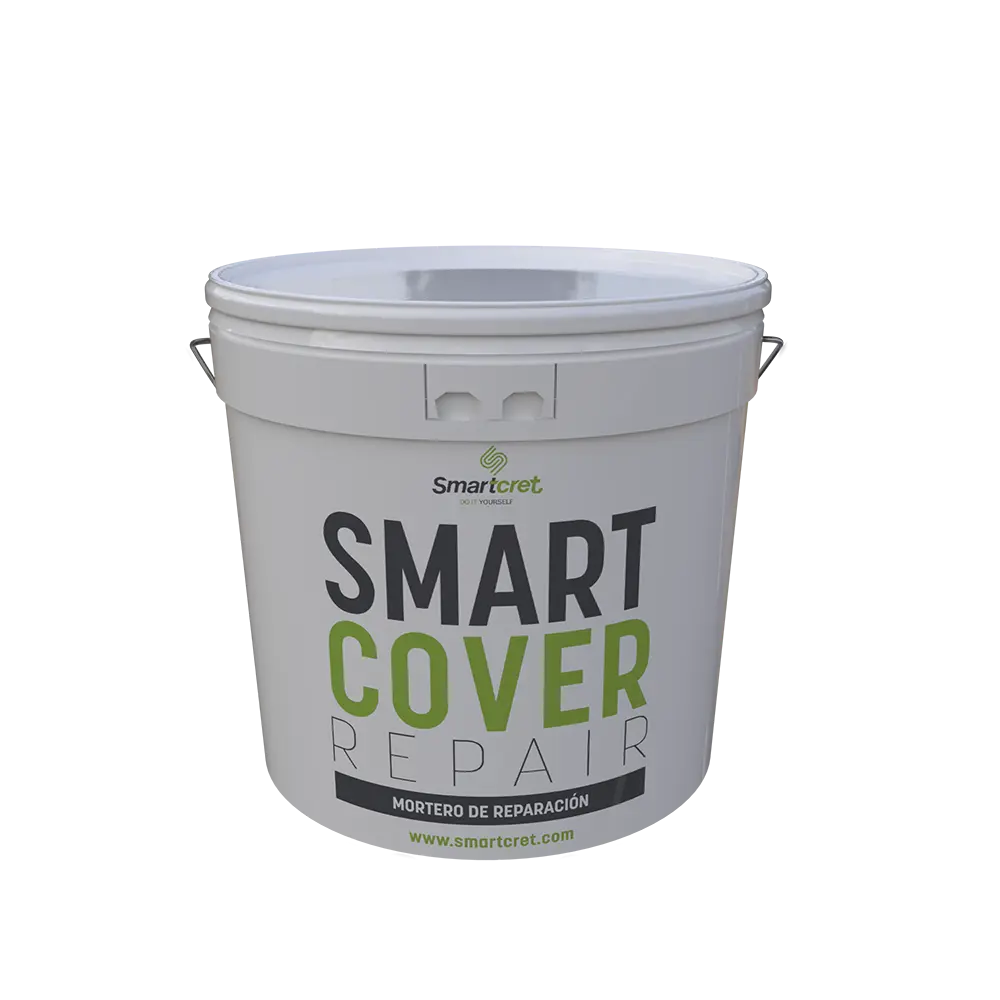
Repairing stamped concrete requires the right product, such as Smartcover Repair, a repair mortar designed for this purpose. With it, you can rejuvenate your old pavement quickly and affordably.
The process for repairing stamped concrete is simple and involves four steps: surface preparation, mixing, applying the mortar, and sealing:
- Clean the stamped concrete: Remove dirt using Smart Cleaner and mark the repair area to separate it from the unaffected area.
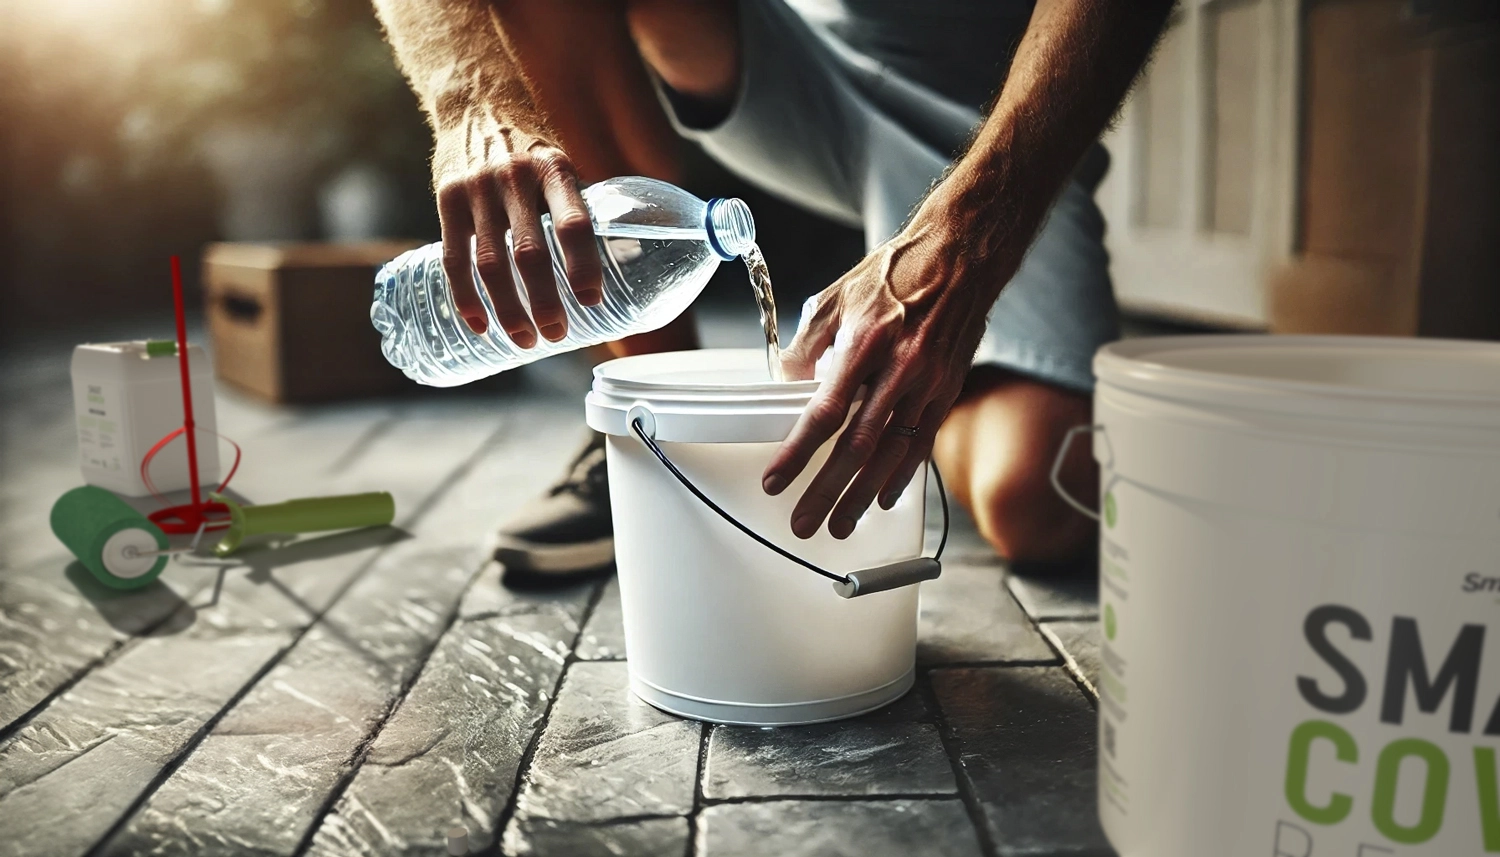
- Mix the stamped concrete repair mortar with water: Add 3 liters of water to Smartcover Repair and mix it with a mechanical mixer at low speed. Let it rest for 3 to 5 minutes before mixing again.
- Apply the repair mortar to the stamped concrete: Apply 2 layers of Smartcover Repair, allowing 4 to 6 hours of drying time between coats.
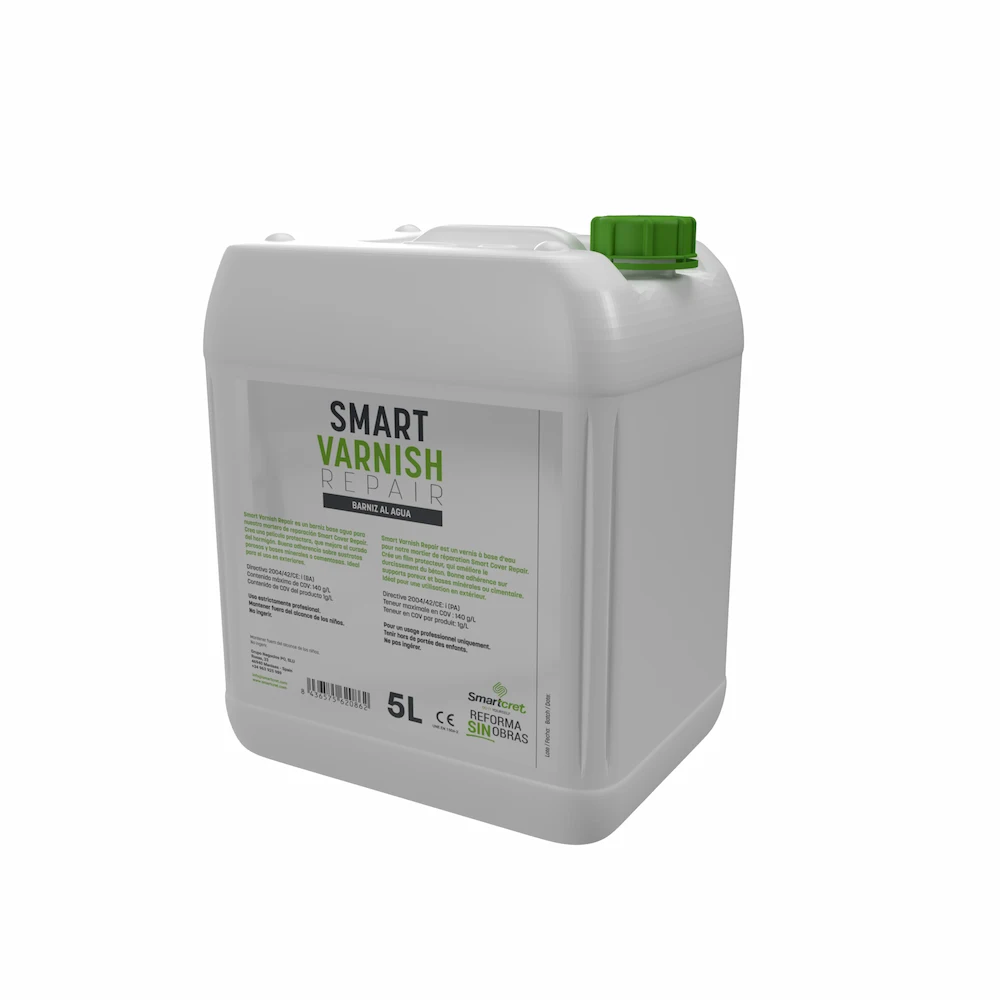
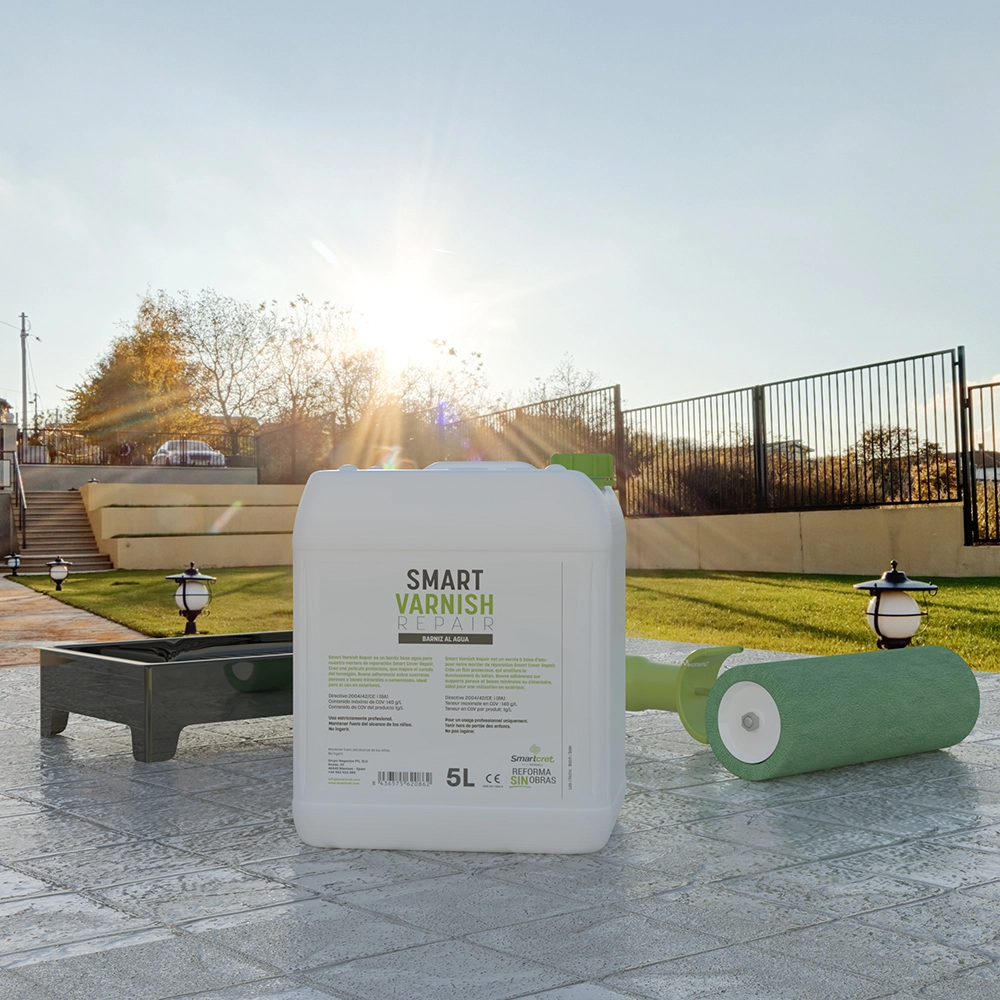
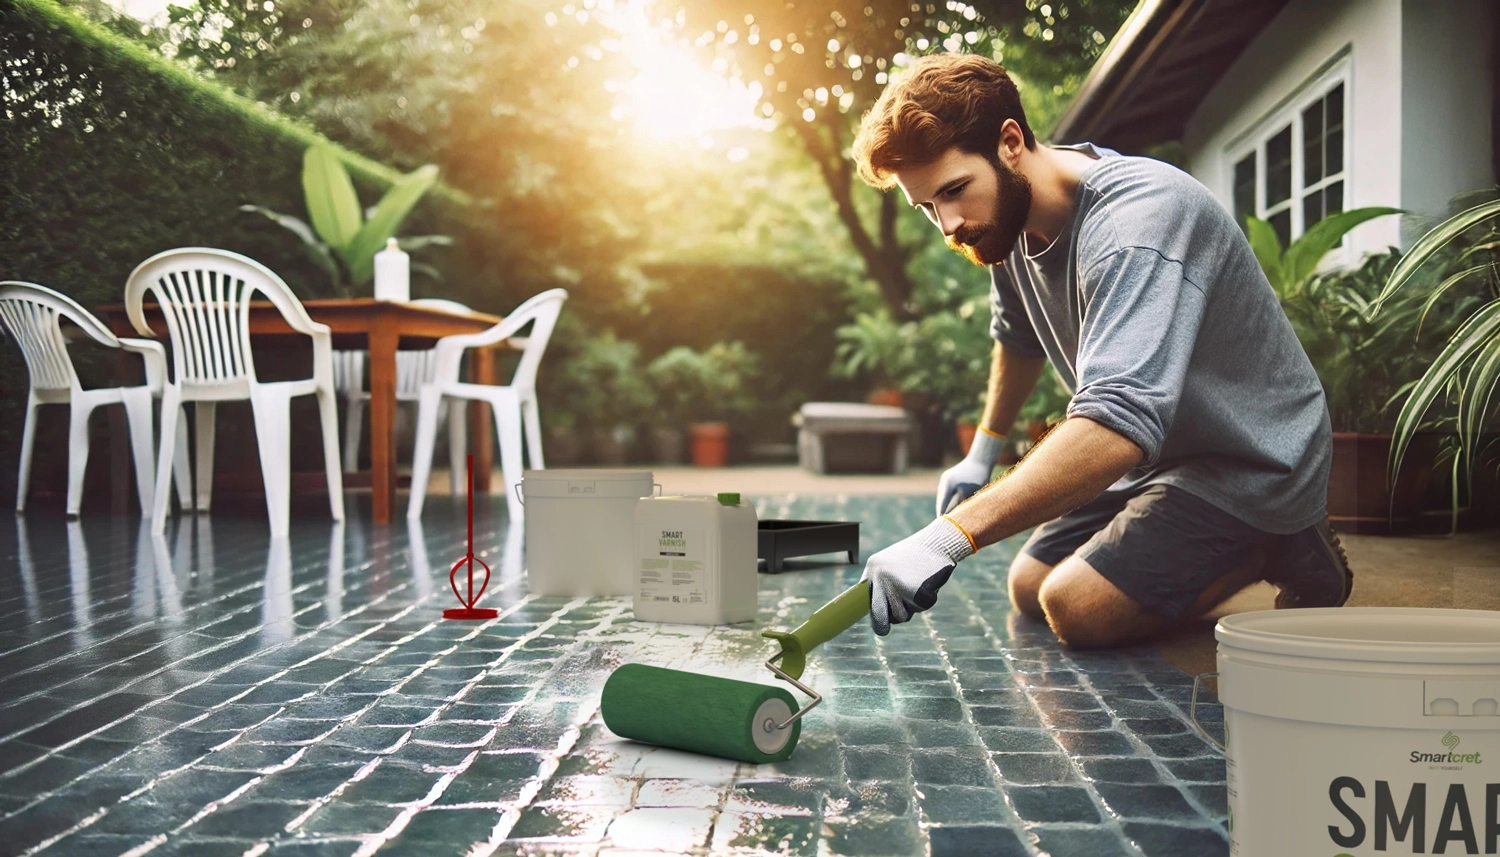
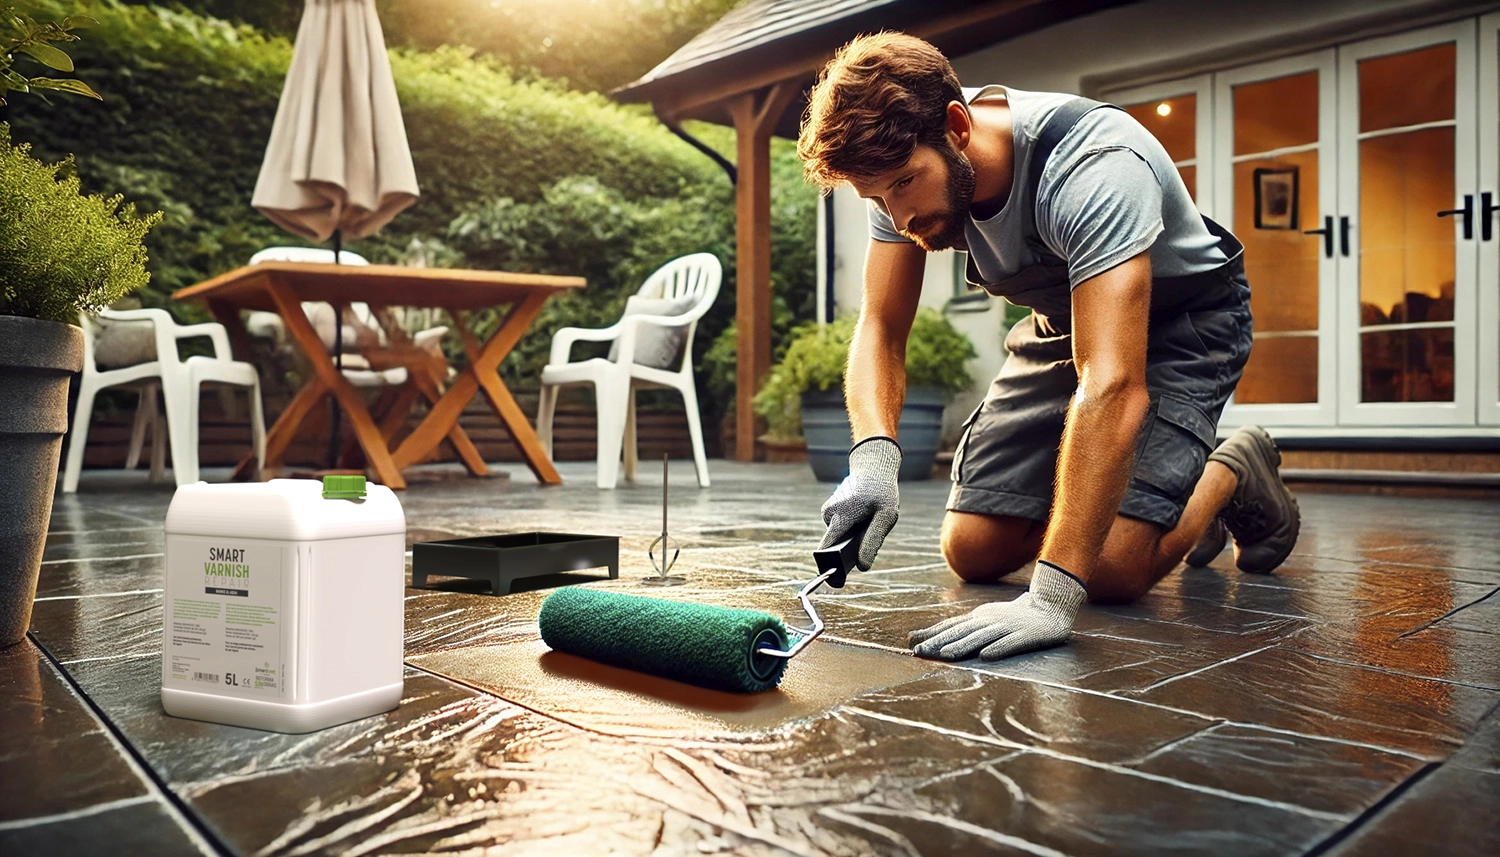
- Seal the repaired stamped concrete: Apply 2 layers of Smart Varnish Repair and allow 4 to 6 hours of drying time between coats.
Is it possible to restore color and shine to stamped concrete?
Yes, it is possible to restore the color and shine of stamped concrete. While stamped concrete is highly durable, at times, due to prolonged exposure to erosion, rain, and heavy traffic, the original color and shine may fade slightly. To restore them, you only need a product like Smart Varnish Repair, a water-based varnish that can be pigmented to achieve both functions.
What maintenance does stamped concrete require?
Stamped concrete is a highly durable material that does not require extensive or complicated maintenance. For optimal upkeep of stamped concrete, it should be cleaned frequently, and the resin layer should be renewed every 3-4 years. There's no need to do anything else.
Is stamped concrete cheaper than polished concrete?
Both are popular options for paving outdoor areas of a home such as patios, driveways, and pool surrounds. But which one is cheaper? Stamped concrete or polished concrete? Generally, polished concrete is more expensive because of the polishing and sealing process required to achieve the smooth and glossy finish it's known for. Additionally, since its maintenance and cleaning are more demanding, the price also increases. That's why, stamped concrete is cheaper than polished concrete.
Most common problems of stamped concrete
- Veining
- Efflorescence
- Deteriorated wearing course
- Loss of gloss
- Loss of color
- Cracks or fissures
How can you change stamped concrete's color?
Changing the color brings about a complete transfiguration. A single step can completely transform a surface, giving it a fresh style and personality. When it comes to stamped concrete, changing its color is not only possible but often necessary as decorative trends evolve.
Here's a simple step-by-step process for changing the color of stamped concrete:
- Clean the pavement: Remove any dirt or debris. Use water and a neutral pH soap to wash the surface until it's free of stains, dirt, leaves, etc.
- Remove the resin with a stripping agent: Stamped concrete is typically sealed or pigmented, so it's important to remove this layer. Use a suitable stripping agent for this purpose.
- Apply a colored stamped concrete sealer: Paint and reseal the stamped concrete using a single product. A product like Smart Varnish Repair not only changes the color of your pavement but also protects it from external factors, effectively killing two birds with one stone.
