SMARTCRET Ready-to-use Microcement

Ready-to-use microcement is an innovative decorative material that opens up a world of possibilities for designing and renovating spaces like never before.

Unlike traditional materials, microcement revolutionizes renovations by eliminating the need for construction work and significantly reducing project timelines.

How does it work? It's simple! Microcement can be applied over existing materials, whether it's tiles or plasterboard. No need for messy removals – just apply the microcement directly onto the surface you want to renovate, and voila!

Experience the power of microcement as it transforms your space in just a matter of days. Enjoy seamless continuity, exclusive designs, and rooms bursting with personality.

Do it Yourself Microcement Renovation...

At Smartcret, we've taken it up a notch by introducing a ready-to-use microcement product, making it easier for you to bring your long-awaited renovation visions to life.

Smartcret's microcement allows you to revamp walls, floors, and even showers without the hassle of removing existing materials from the surface you want to decorate.

... Tailored to your Liking

All you need to do is decide which space in your home you want to renovate, pick one of our microcement kits tailored to the type of surface you're working with, and get started!

In no time, and with a touch of ease and fun, you'll have transformed your home without any construction work and in a more budget-friendly way.

Where Can Ready-to-Use Microcement Be Applied?

Ready-to-use microcement effortlessly enhances any room and surface! It's the perfect solution for floors, walls, furniture, bathroom vanities, and even showers, bringing a touch of freshness and versatility to every space.

previous_without_joints
Bathrooms Bathrooms Bathrooms Kitchens Kitchens Kitchens Floors Floors Walls Walls
Next

Characteristics of Smartcret Ready-to-use Microcement

Quick Application

With a thickness of only 3 millimeters, our product allows for speedy renovations without the need for construction work, all accomplished in just five easy steps.

Fast Drying

Our microcement boasts an exceptionally rapid drying process. After application, you can expect normal foot traffic in just one week.

Easy Application

No need to mix any components – our product is pre-prepared for use, making application straightforward.

Adhesion to All Types of Substrates

Smartcret can be applied to a wide range of substrates, including cement mortar, self-leveling, terrazzo, marble, tile, plaster, or gypsum. It's suitable for both vertical and horizontal surfaces.

Flexible and Seamless

Despite its thinness, Smartcret microcement exhibits high mechanical strength in compression and bending, ensuring a seamless finish that won't crack over time.

High Resistance to Abrasion

Our microcement stands out for its excellent mechanical properties, resulting in a finish with great durability and strong resistance to abrasion.

Easy Maintenance and Cleaning

Smartcret surfaces are easy to clean and maintain. Simply use water and neutral soap to keep them looking fresh and hygienic.

Eco-Friendly

Manufactured with mineral components and natural pigments free of toxic elements, Smartcret is environmentally friendly and leaves no negative impact during production.

High Scratch Resistance

Contrary to common myths, Smartcret microcement does not scratch easily. With proper care, you can enjoy its technical and aesthetic benefits for years to come.

Smartcret

Smartcret Ready-to-use Microcement Colors

Introducing the Elegance Collection, choose from our range of 20 colors for the color most suited to the renovation of your dreams.

A RANGE : Earth-colored Microcement

Earth tones are a surefire way to create cozy and inviting atmospheres. These natural hues bring warmth to any room in the house.

Whether it's the living room, bathroom, kitchen, or any other space, earthy colors add a touch of comforting warmth. From soft to rich tones, they can transform any part of your home.

Earth colors are the perfect choice for expanding space, adding depth, and personalizing your home decor with a natural flair.

Ellegance Collection colour A1

How to Apply Ready-to-use Smartcret Microcement: A Step by Step Guide

Time to kickstart your renovation journey! We've got everything you need to apply microcement smoothly and efficiently. But before we dive in, we have two different guides for you. You just have to choose the room or surface you're applying on.

Ready to get started? Let's do this!

STEP BY STEP GUIDE FOR KITCHENS, BATHROOMS AND SHOWERS

STEP BY STEP GUIDE FOR WALLS

CLEAN AND PREP THE SUBSTRATE

Icono paso a paso limpieza Make sure the surface is clean and dry, free from any dust or grease.

Icono paso a paso cinta Use masking tape to mark out the area where you'll be applying the microcement.

Cleaning step by step

FILL THE GROUT JOINTS WITH SMART JOINTER

Icono paso a paso remueve If your substrate hasn't got seams, skip this step!

Icono paso a paso cubo Fill the grout joints with 1 coat of Smart Jointer using a spatula or trowel.

Icono paso a paso tiempo Allow 24 hours of drying time.

Icono paso a paso lija Sand the surface with a 40-grit sandpaper.

Smart Jointer

APPLY SMART PRIMER

Icono paso a paso remueve If your surface is absorbent (plaster, drywall, concrete etc.) use Smart Primer ABS.

Icono paso a paso llana If your surface is non-absorbent (tile, ceramic, terrazzo etc.) use Smart Primer PLUS.

Icono paso a paso cubo Pour the product into a tray.

Icono paso a paso rodillo Roll on a coat of Smart Primer using the roller.

Icono paso a paso tiempo Allow 30 minutes for it to dry.

Icono paso a paso grifo Clean the roller with water immediately after use to prolong its life.

Smart Primer Abs

APPLY SMART BASE

Icono paso a paso remueve Stir the product manually with a spatula until it's evenly mixed.

Icono paso a paso llana Dip the Smart Roller into the Smart Base and spread the microcement thinly. Smooth it out with the trowel.

Icono paso a paso cinta Remove and apply masking tape between layers.

Icono paso a paso tiempo Allow 6 hours of drying time between each layer.

Icono paso a paso lija Sand after each layer using a 40-grit sandpaper, don't leave any microcement ridges!

Icono paso a paso llana Apply a total of two layers of Smart Base.

Smart Base

APPLY SMART LISO

Icono paso a paso remueve Stir the product manually with a spatula, then reapply the masking tape to mark off the surface.

Icono paso a paso rodillo Repeat the same process with the Smart Liso. Use the Smart Roller and the trowel to spread the microcement thinly.

Icono paso a paso cinta Remove the masking tape.

Icono paso a paso tiempo Allow 6 hours between each layer for drying.

Icono paso a paso lija Sand after each layer using a 220-grit sandpaper.

Icono paso a paso llana Apply a total of 2 layers of Smart Liso.

Smart Liso

MIX SMART BOOSTER WITH SMART VARNISH

Icono paso a paso tiempo Wait 24 hours after applying Smart Liso.

Icono paso a paso rodilloAdd Smart Booster to the Smart Varnish container.

Icono paso a paso remueve Gently shake the container manually for a few minutes.

Icono paso a paso tiempo Let the mixture sit for 5-10 minutes before application.

Smart Booster

PROTECT YOUR SURFACE WITH SMART VARNISH

Icono paso a paso cinta Apply masking tape again to mark the area.

Icono paso a paso rodilloOnce the Smart Varnish mixture is ready, apply the first coat.

Icono paso a paso rodillo Apply 3 coats in total. The mixture has a shelf life of 24 hours, allowing it to be used for the second and third coats.

Icono paso a paso cinta Remove the masking tape.

Icono paso a paso tiempo Allow 4 hours of drying time between coats.

Icono paso a paso lija We recommend sanding the first and second coat with a 400-grit sandpaper.

*Important: We recommend waiting 7 days for the varnish to reach its maximum resistance.

Smart Varnish

CLEAN AND PREP THE SUBSTRATE

Icon Step by Step Surface Make sure the surface is clean and dry, free from any dust or grease.

Icon Step by Step Tape Use masking tape to mark out the area where you'll be applying the microcement.

Cleaning Step by Step

APPLY SMART PRIMER

Icon Step by Step Pour Pour the product into a tray.

Icon Step by Step Roller Roll on a coat of Smart Primer ABS using the roller.

Icon Step by Step Time Allow 30 minutes for it to dry.

Icon Step by Step Clean Clean the roller with water immediately after use to extend its life.

Smart Primer Abs

APPLY SMART LISO

Icon Step by Step Stir Stir the product manually with a spatula until it's evenly mixed.

Icon Step by Step Trowel Dip the Smart Roller into the Smart Liso and spread the microcement thinly. Smooth it out with the trowel.

Icon Step by Step Tape Remove and apply masking tape between layers.

Icon Step by Step Time Allow 6 hours of drying time between each layer.

Icon Step by Step Sand Sand after each layer using a 220-grit sandpaper, don't leave any microcement ridges!

Icon Step by Step Trowel Apply a total of three layers of Smart Liso.

Smart Liso

PROTECT YOUR SURFACE WITH SMART VARNISH

Icon Step by Step Time Wait 24 hours after applying Smart Liso.

Icon Step by Step Roller Apply masking tape again to mark the area.

Icon Step by Step Tape Apply 3 coats of Smart Varnish using a roller.

Icon Step by Step Tape Remove the masking tape.

Icon Step by Step Time Allow 4 hours of drying time between coats.

Icon Step by Step Sand Sand the first and second coat with a 400-grit sandpaper (recommended).

*Important: Allow 7 days for the varnish to reach its maximum resistance.

Smart Varnish

Additional points for a successful application:

Apply in Thin Layers: Make sure to apply the product thinly, as it hardens upon contact with air. Thick layers may hinder proper drying.

Allow Sufficient Drying Time: Ensure you wait for the appropriate drying time between coats to achieve optimal results.

Ideal Drying Temperature: Aim for a starting temperature of at least 20°C for ideal drying conditions. If it's colder, consider heating the area until it reaches 20°C.

Surface Preparation: Repair any cracks or chips on the surface before applying microcement for a smooth finish.

Address Excess Moisture: If there's excess moisture present, it's important to address it before applying Smartcret microcement to ensure proper adhesion and performance.

I want my Kit for Absorbent Surfaces I want my Kit for Non-Absorbent Surfaces

Frequently asked questions about Smartcret Microcement

Smartcret Microcement FAQs

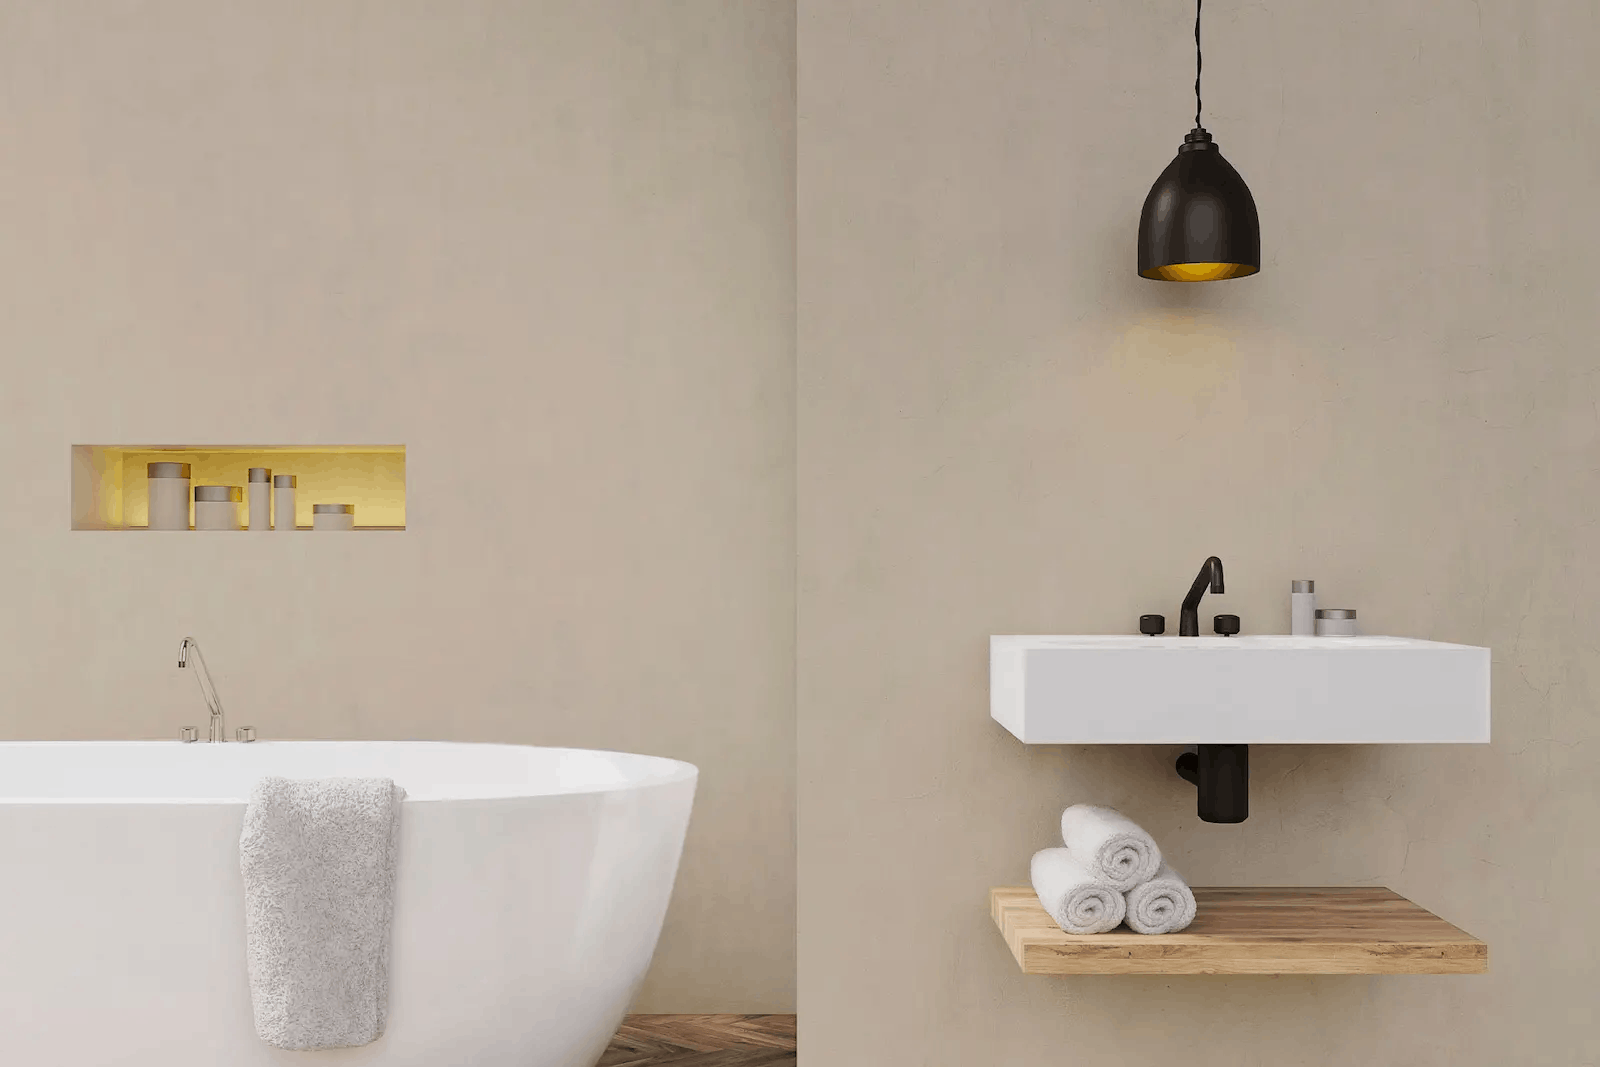
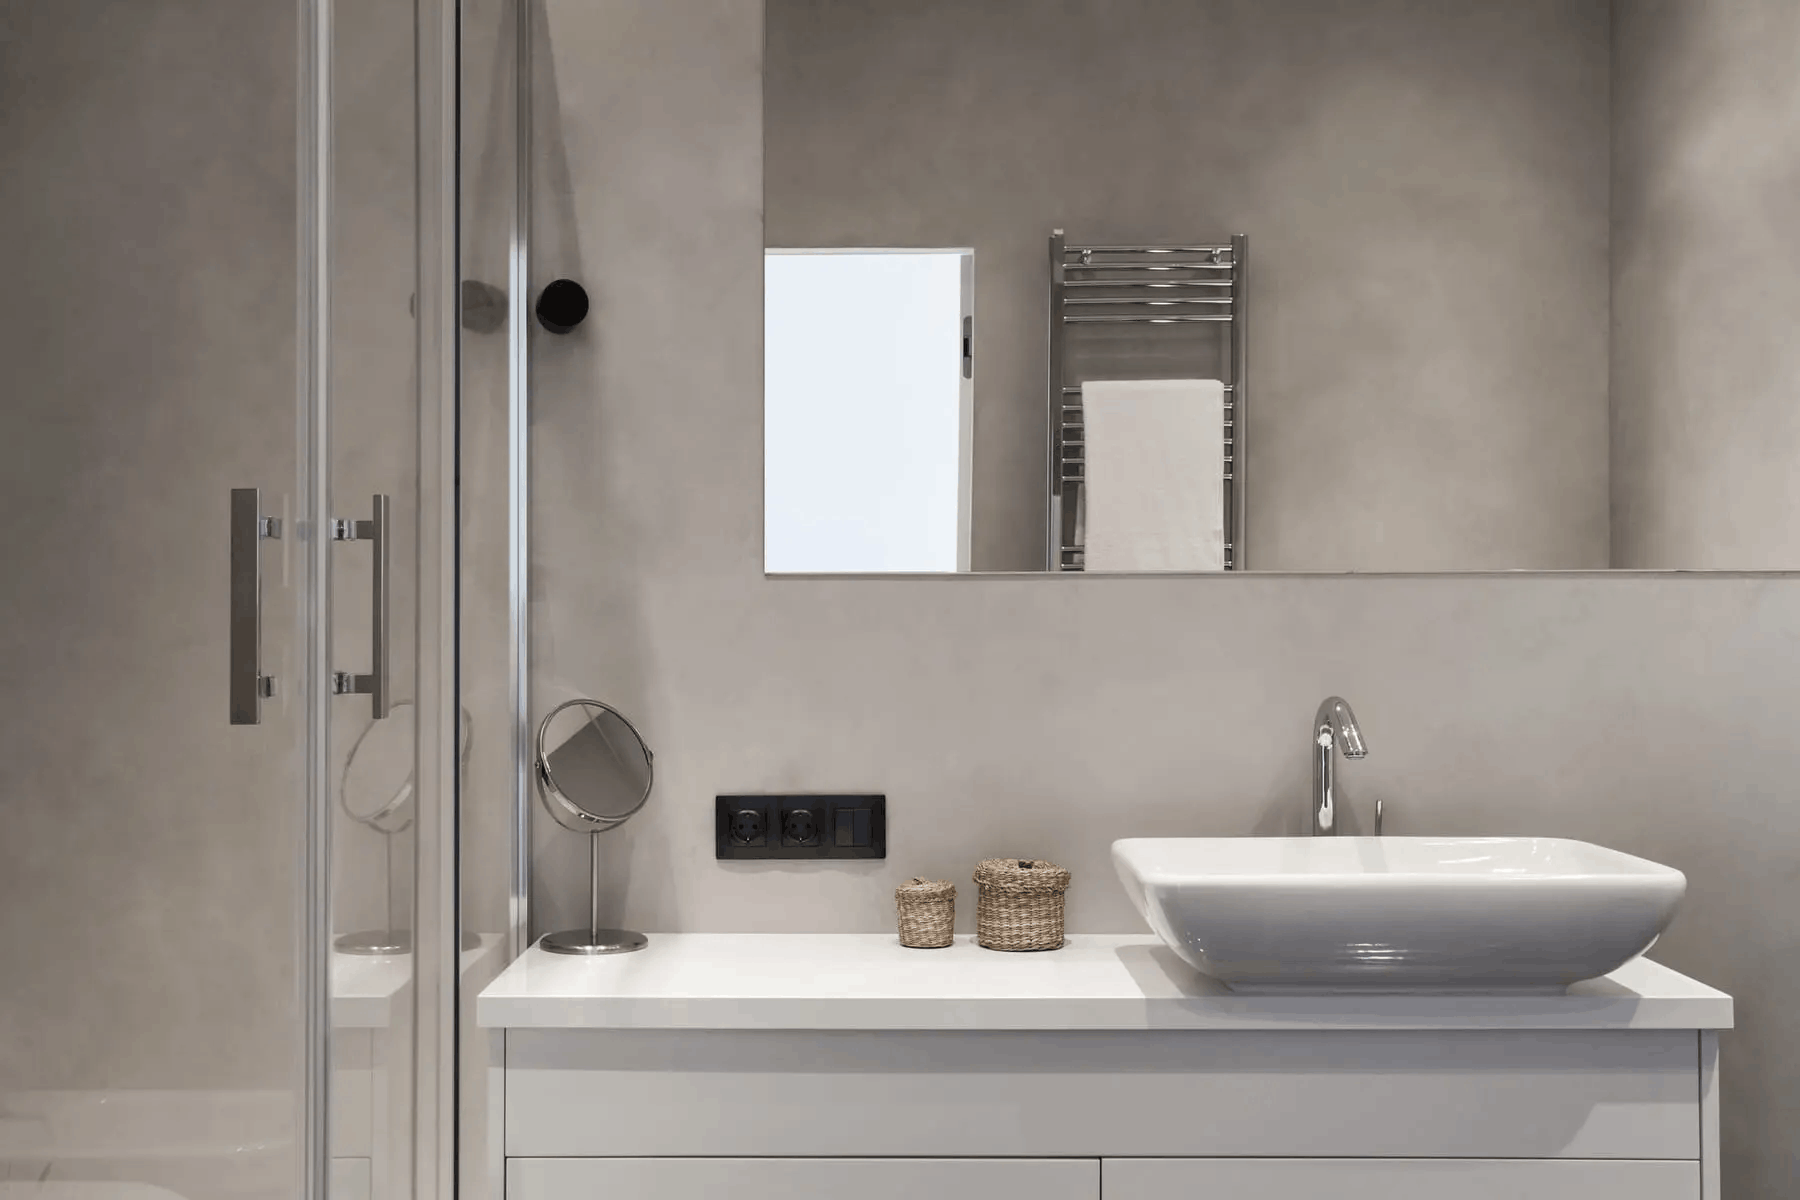
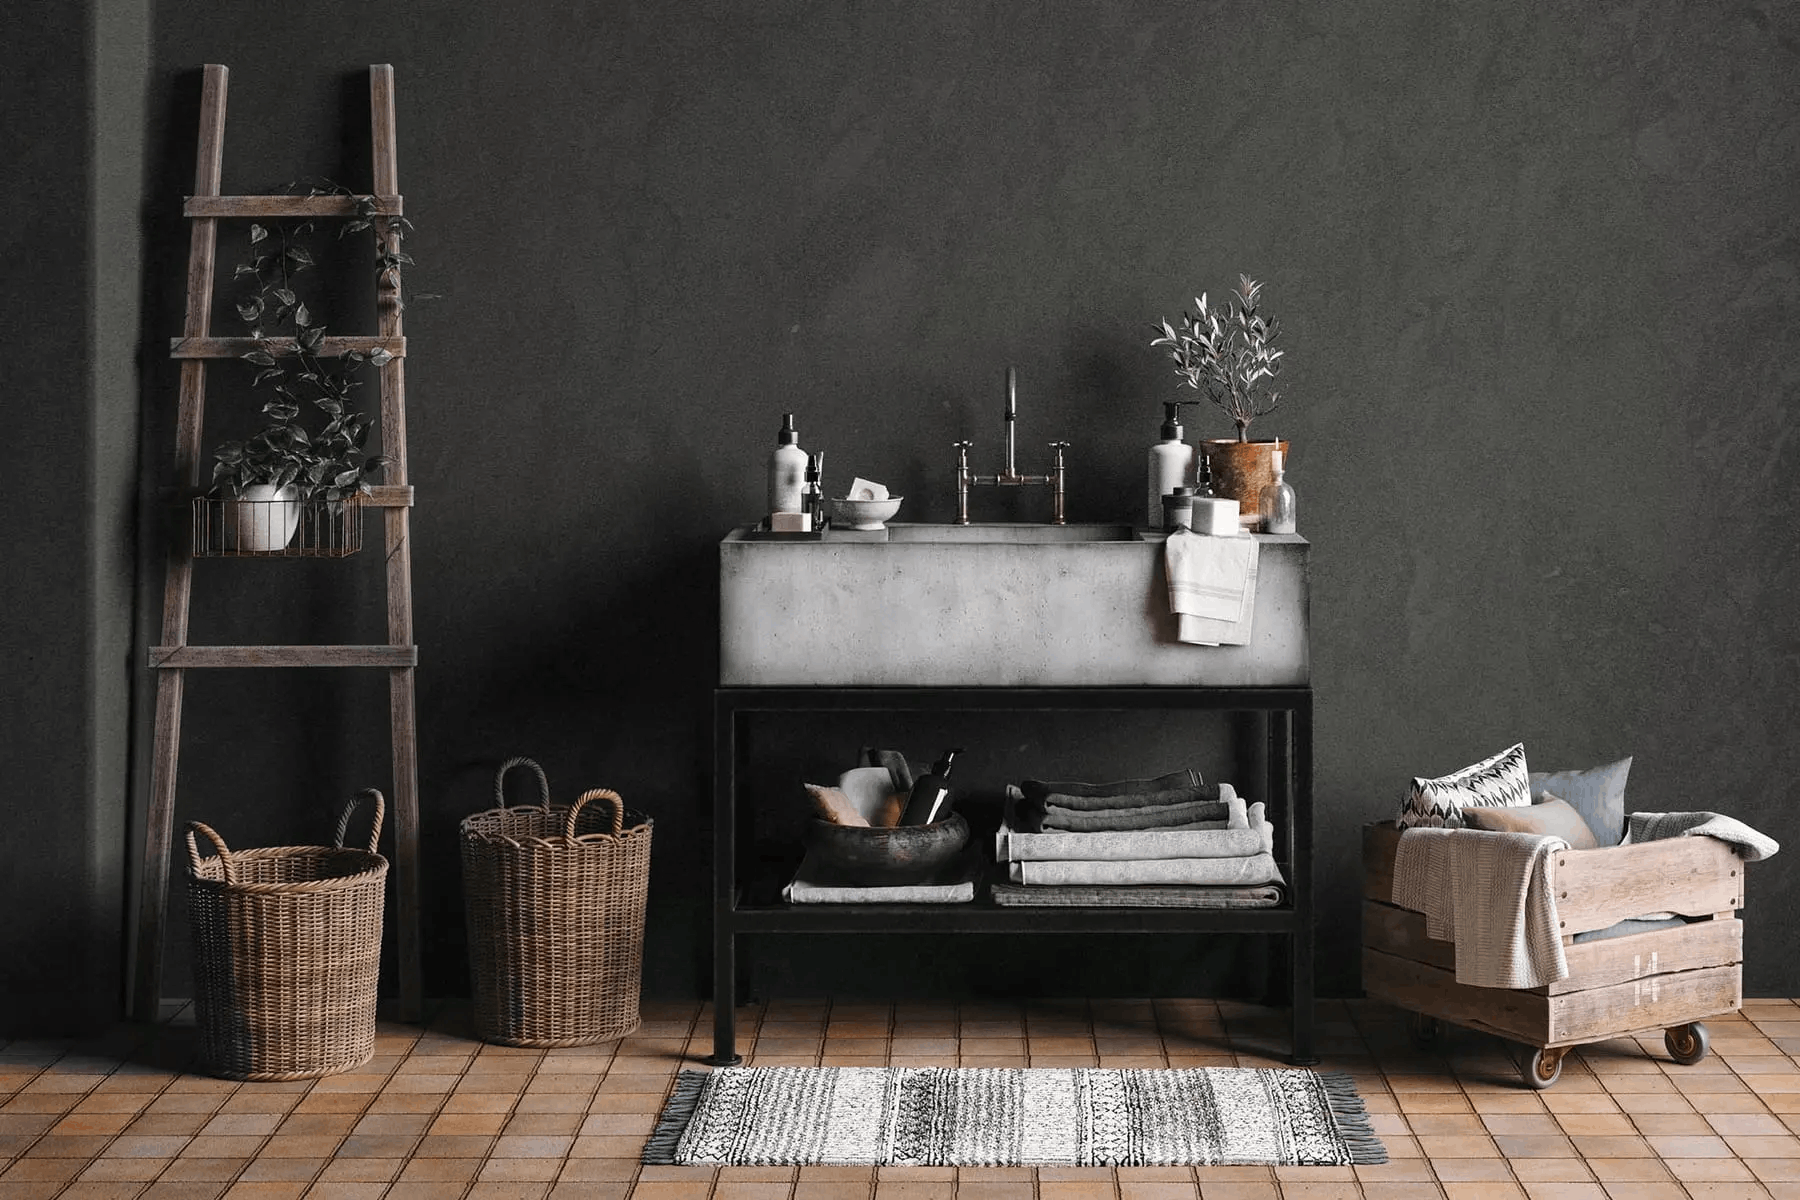
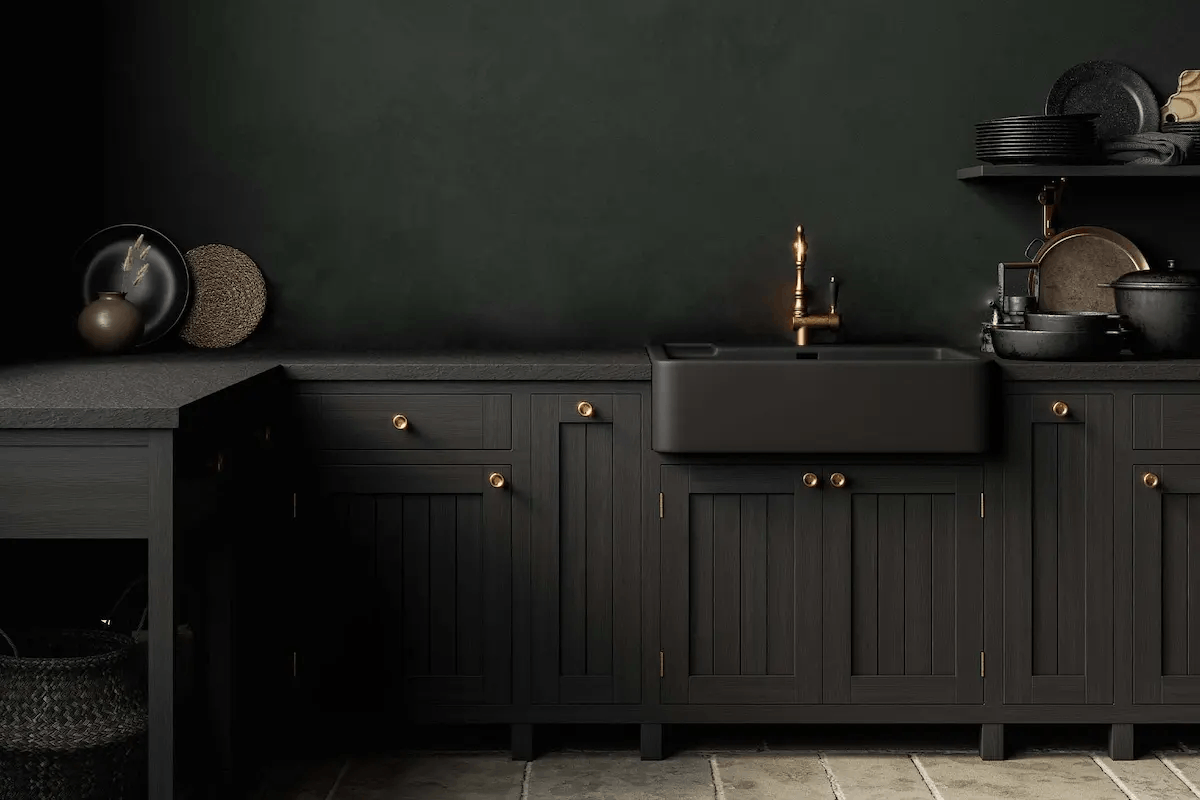
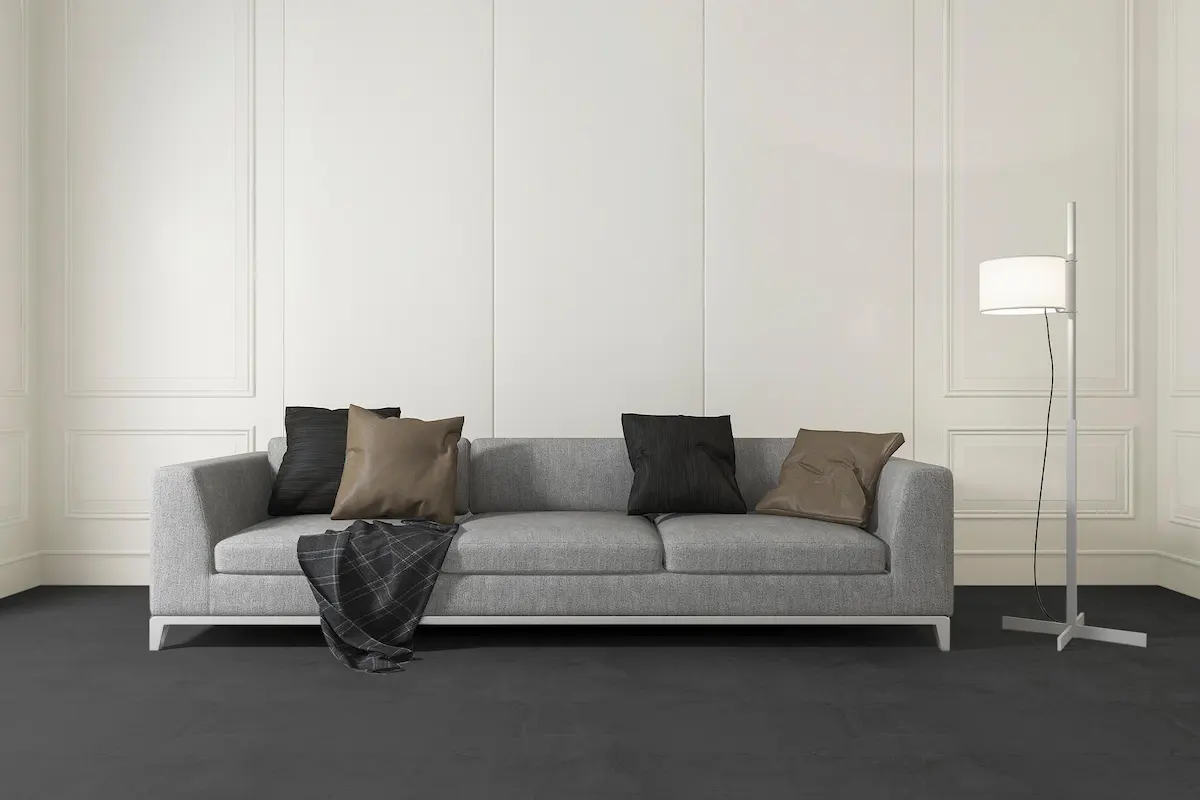
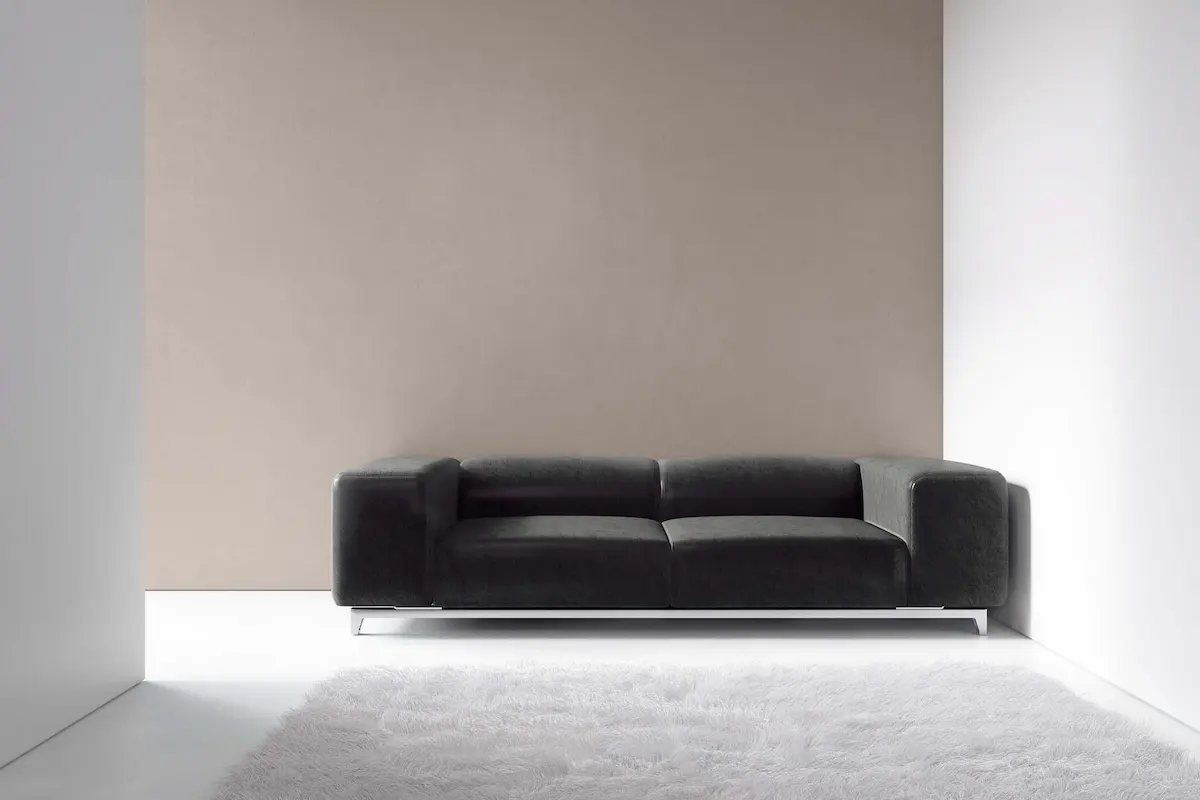
Microcement is a durable and decorative material that enables us to renovate our house without the need to remove existing materials on the surfaces we wish to renovate. It can be applied over tiles, marble, and even gresite, providing a completely new, seamless surface.

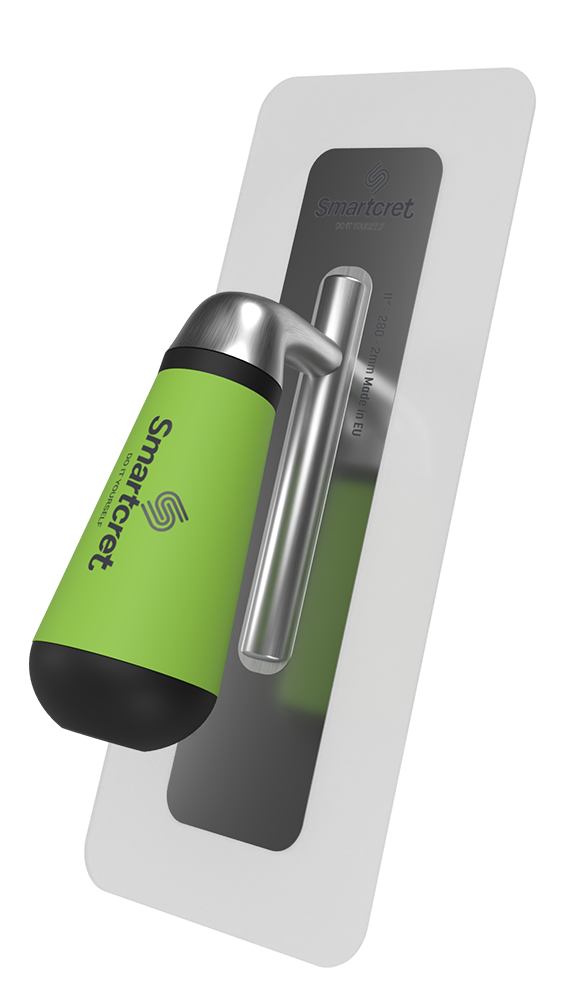
SMARTCRET Do It Yourself is a decorative coating designed for application on various surfaces such as tiles, terrazzo, plaster, cement, and more. Applied manually in multiple layers using a trowel, it is suitable for interior use on both vertical and horizontal surfaces. This product offers the flexibility to refresh rooms and furniture with a new style without the necessity for extensive construction work.

  • Smartcret is a ready-to-use product, prepared in buckets, eliminating the need to mix different materials.
  • It is easy to apply, requiring no previous experience; only basic knowledge in do-it-yourself is needed.
  • It is quick to apply.
  • It dries quickly.
  • It has very good adherence to the substrate.
  • It is flexible and does not shrink, meaning it does not crack.
  • It has high resistance to abrasion.
  • It offers a wide range of colors and effects.
  • It is compatible with conventional tintometric systems.

SMARTCRET Do It Yourself offers a wide variety of colors and color possibilities. Explore the Elegance Collection section to view our ranges.

For added convenience, our products are sold pre-pigmented and ready to apply.

Smartcret comes with a one-year warranty, contingent upon following the correct application procedures. Deviating from these guidelines may void the product's warranty.

There are different types of microcements based on their components, composition, and intended use. For example, they may contain cement, lime, epoxy resin, water, etc. Some types have multiple components, while others have only one. A professional applicator will recommend the best type based on each project's specific needs.

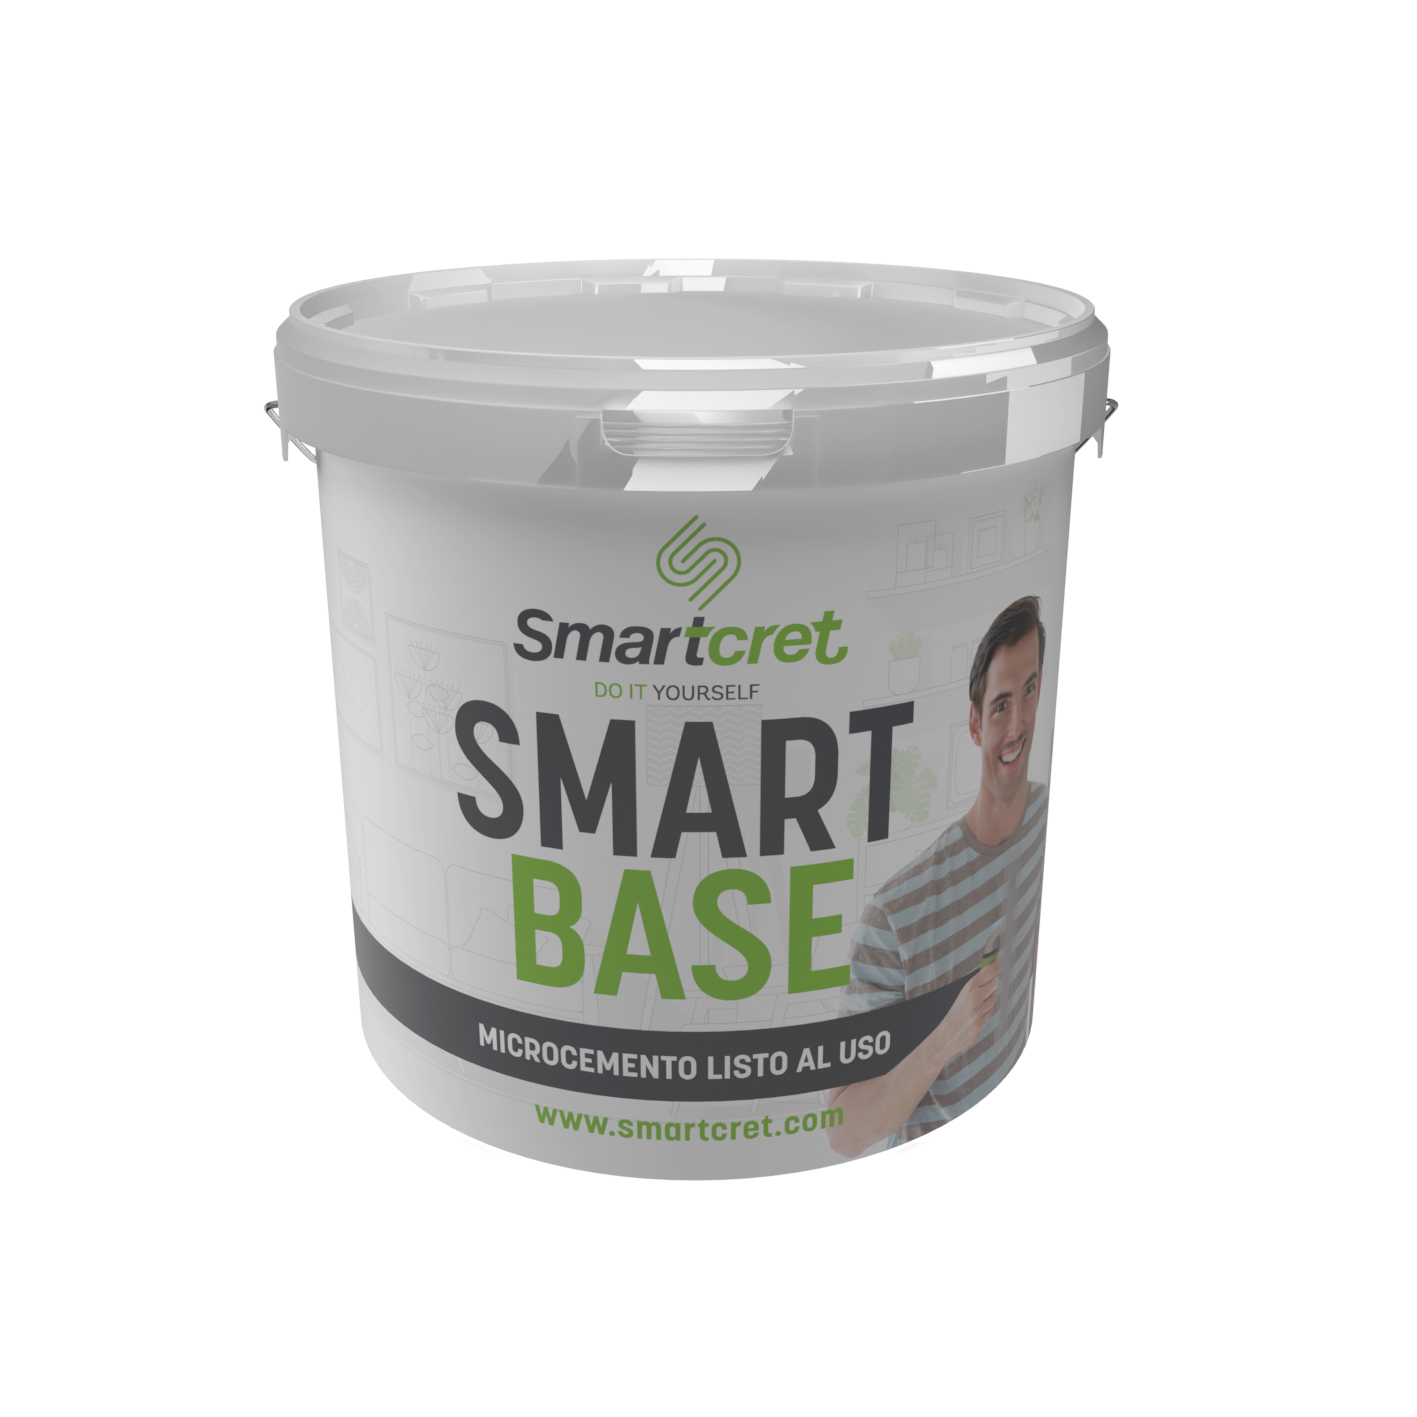
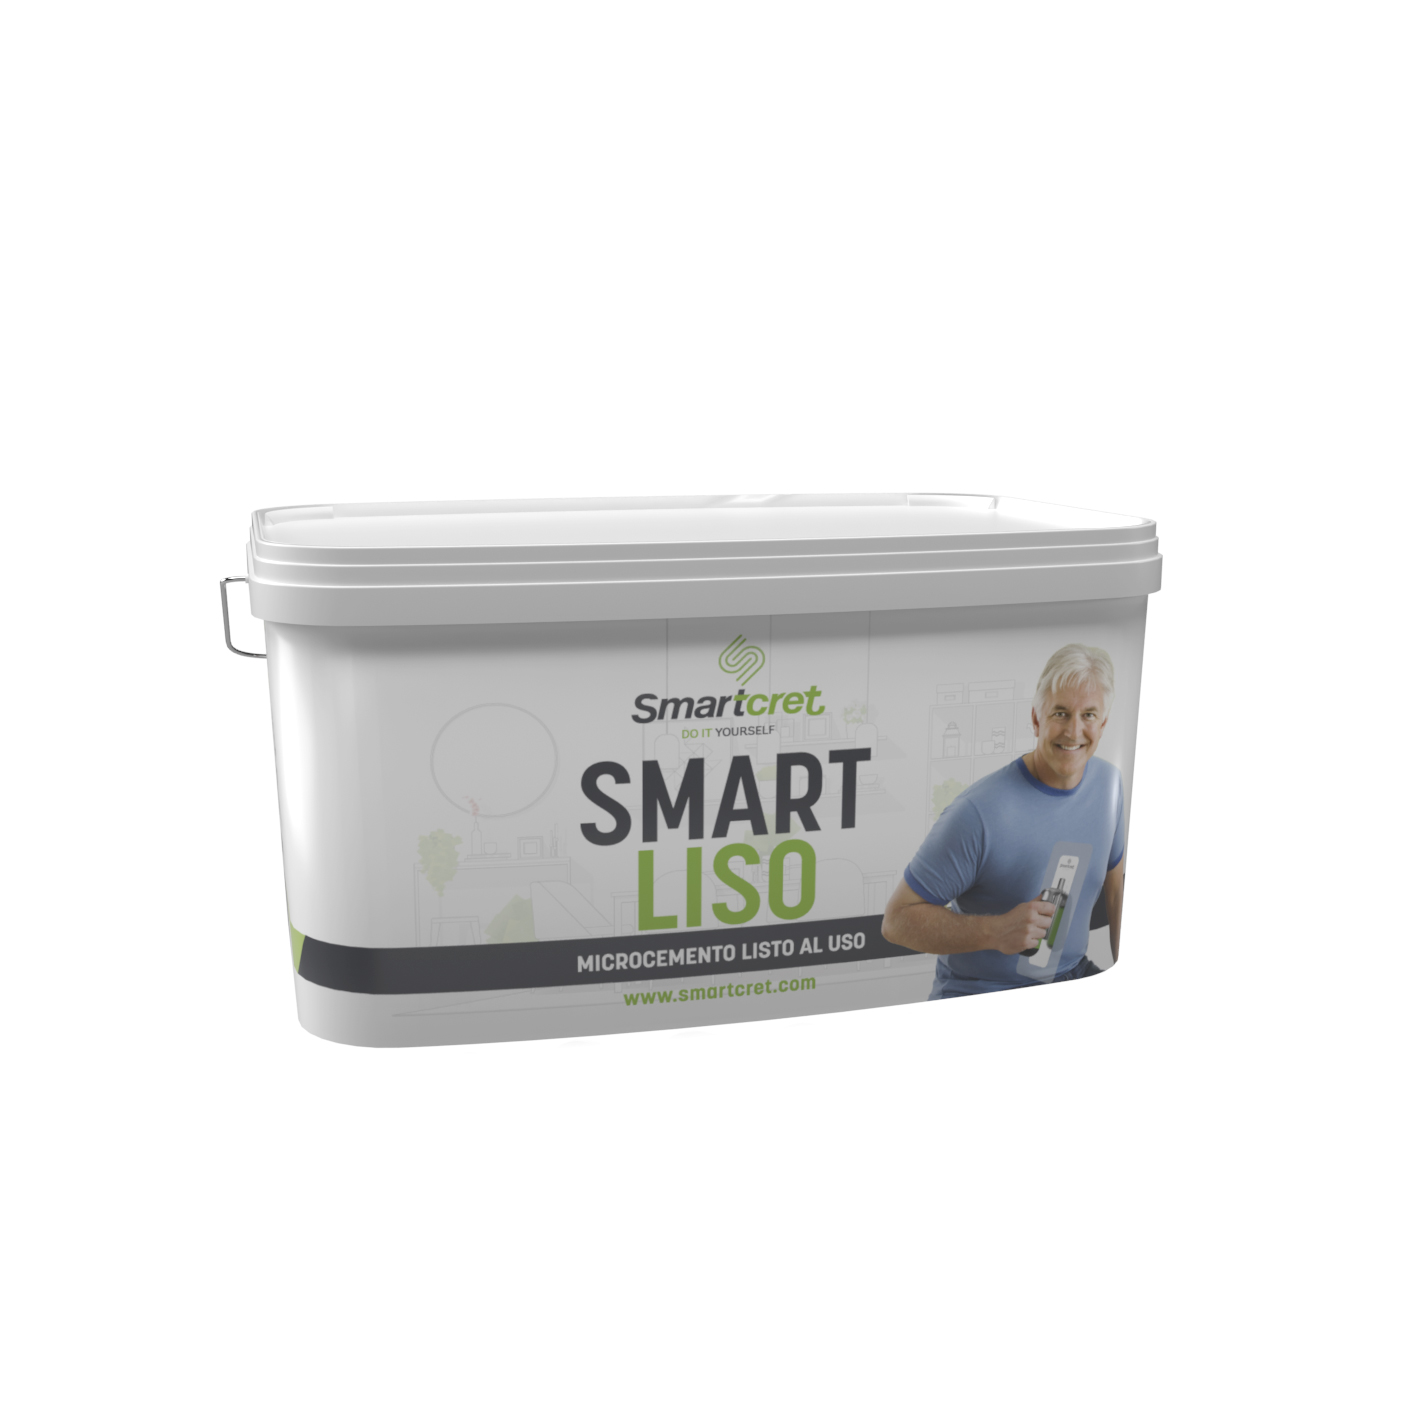
Smartcret offers two main types: Smart Base, a preparatory paste for initial surface coating, and Smart Liso, a finishing microcement designed to add the final touch to renovations. Both options allow you to choose your preferred color.

Determining the cost of microcement is challenging because it depends on external factors such as the condition of the substrate, whether repairs are necessary, the number of applicators needed, and their expertise.

This isn't a concern with Smartcret's ready-to-use microcement, as it can be applied by users themselves, eliminating the need for external labor and always providing a fixed price.

Smartcret is available for purchase through our online store.

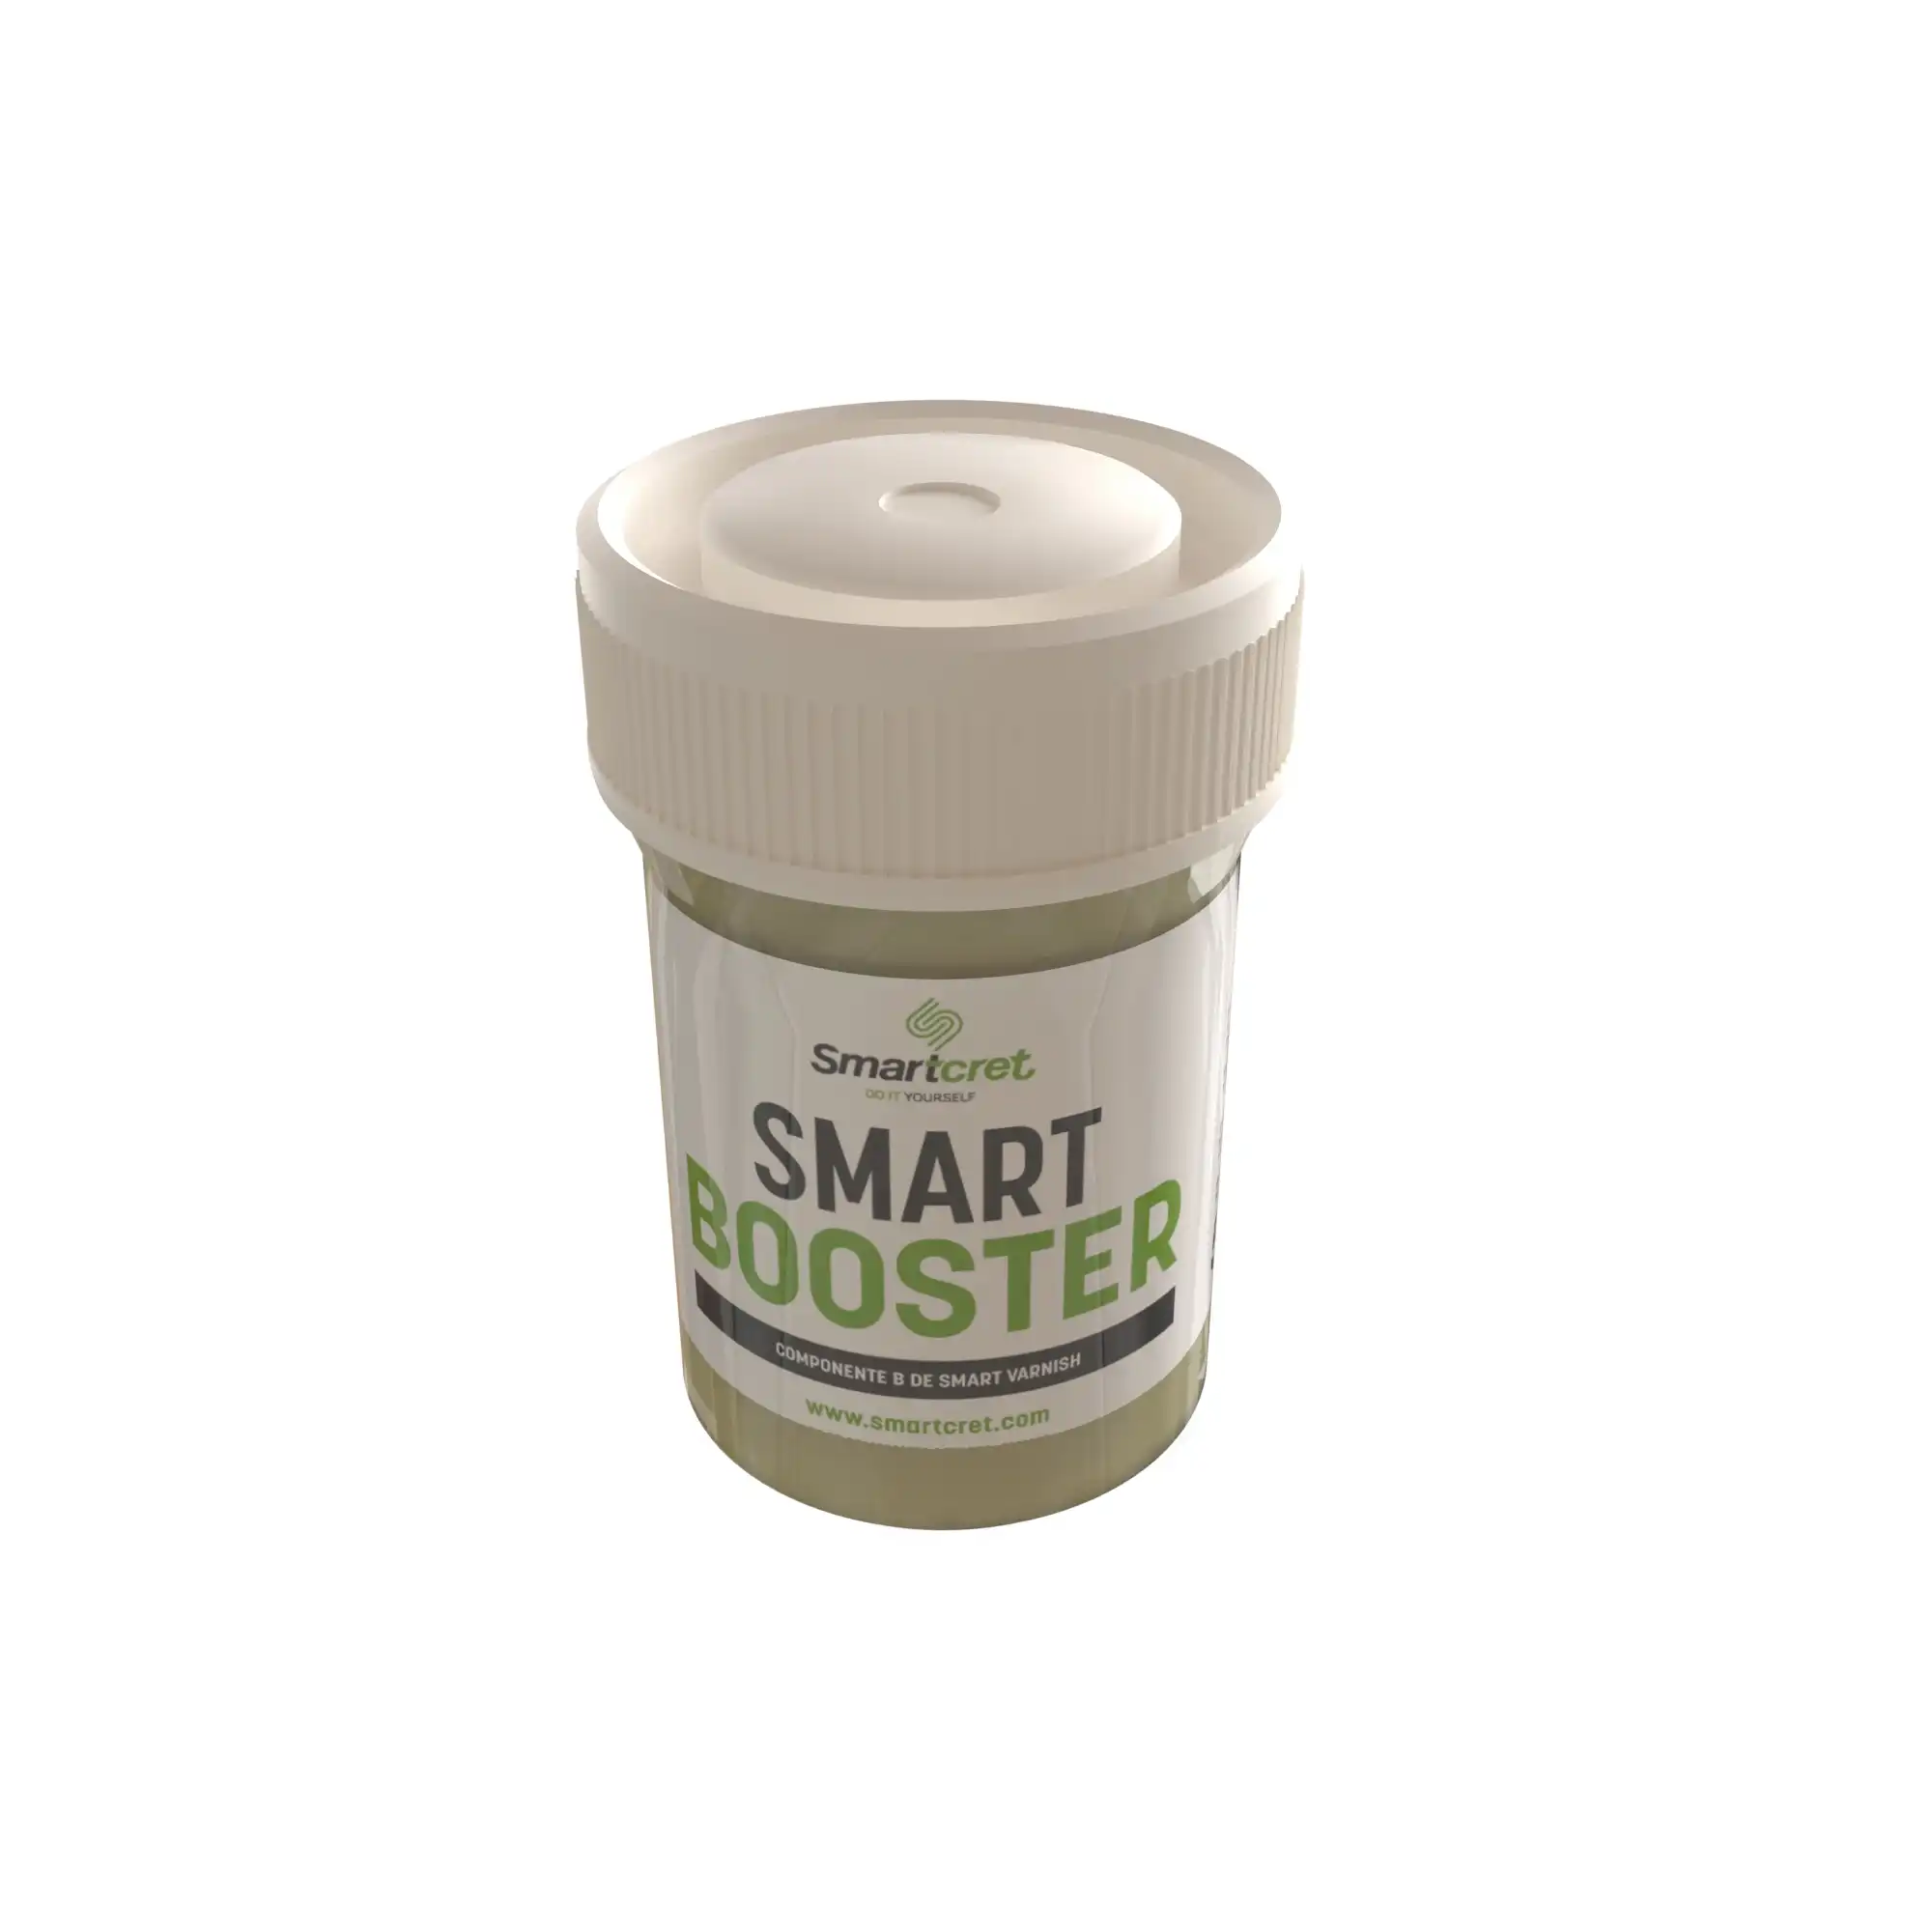
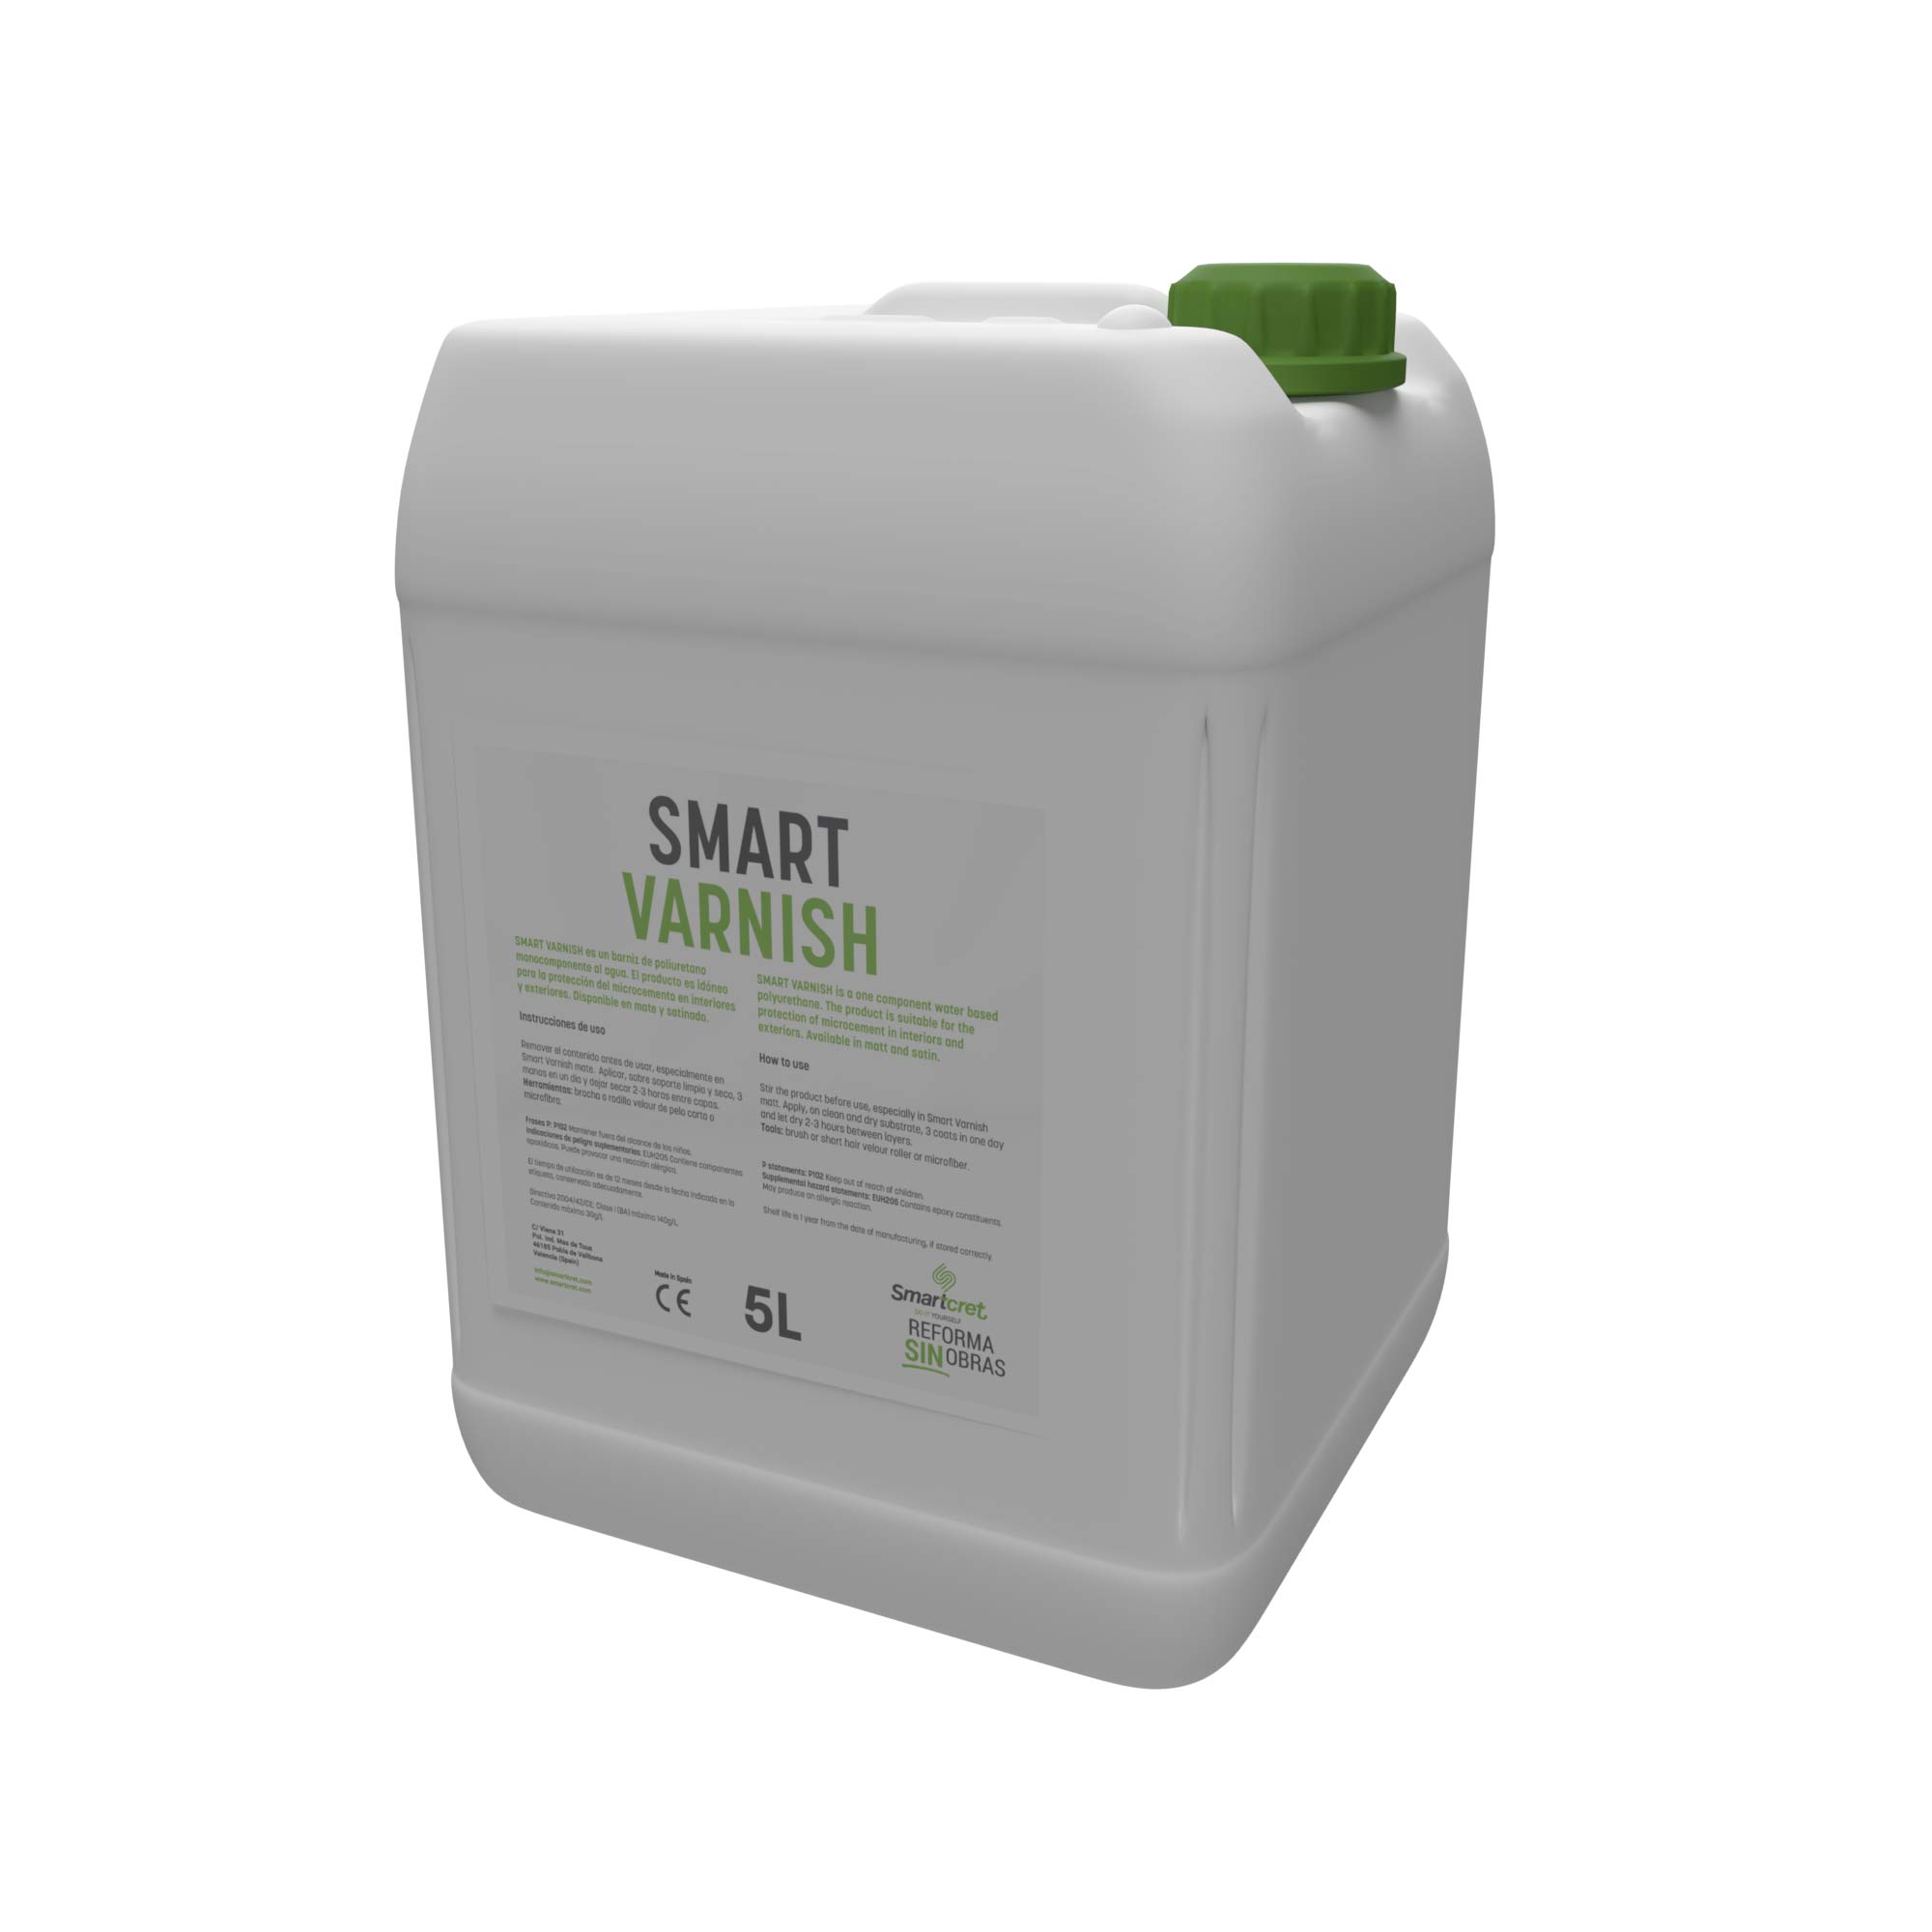
Our Smart Varnish provides two finish options: matte and satin.

Our tool kit comes fully equipped with everything you need for your project. It includes:

  • 1 polycarbonate and aluminum trowel
  • 2 WT rollers
  • 1 polyamide roller
  • 1 sanding glove
  • 1 roller handle
  • 1 spatula

At Smartcret, we offer a variety of kits tailored for different rooms and surfaces in your home. Depending on the location and the type of material you want to apply, you'll choose the appropriate kit. Our selection includes kits specifically designed for walls, floors, bathrooms, kitchens, and even showers. You can also select between kits for absorbent surfaces (such as drywall and plasterboard) and non-absorbent surfaces (such as tiles and ceramic). This way, you can easily find the perfect kit for your needs.

Yes, all our products are available for individual purchase in our online store.

Unlike other microcements, Smartcret is sold pre-pigmented. This means that our Elegance Collection range offers a wide variety of colors, encompassing various shades to ensure you can select the one that best complements your envisioned style.

Microcement is fully compatible with underfloor heating systems, but its application process and subsequent activation are quite complex and require specialized expertise. Only a highly experienced professional can apply it perfectly to prevent cracking due to temperature changes.

Because of these complexities, we do not recommend applying our ready-to-use microcement on these types of floors, as it is intended for DIY use.

Microcement adheres well to various types of surfaces except wood. Wood expands and contracts with temperature changes, which can lead to cracking of the microcement.

Among the different types of microcement available, some are naturally slip-resistant, while others require sealing with a varnish to achieve slip resistance.

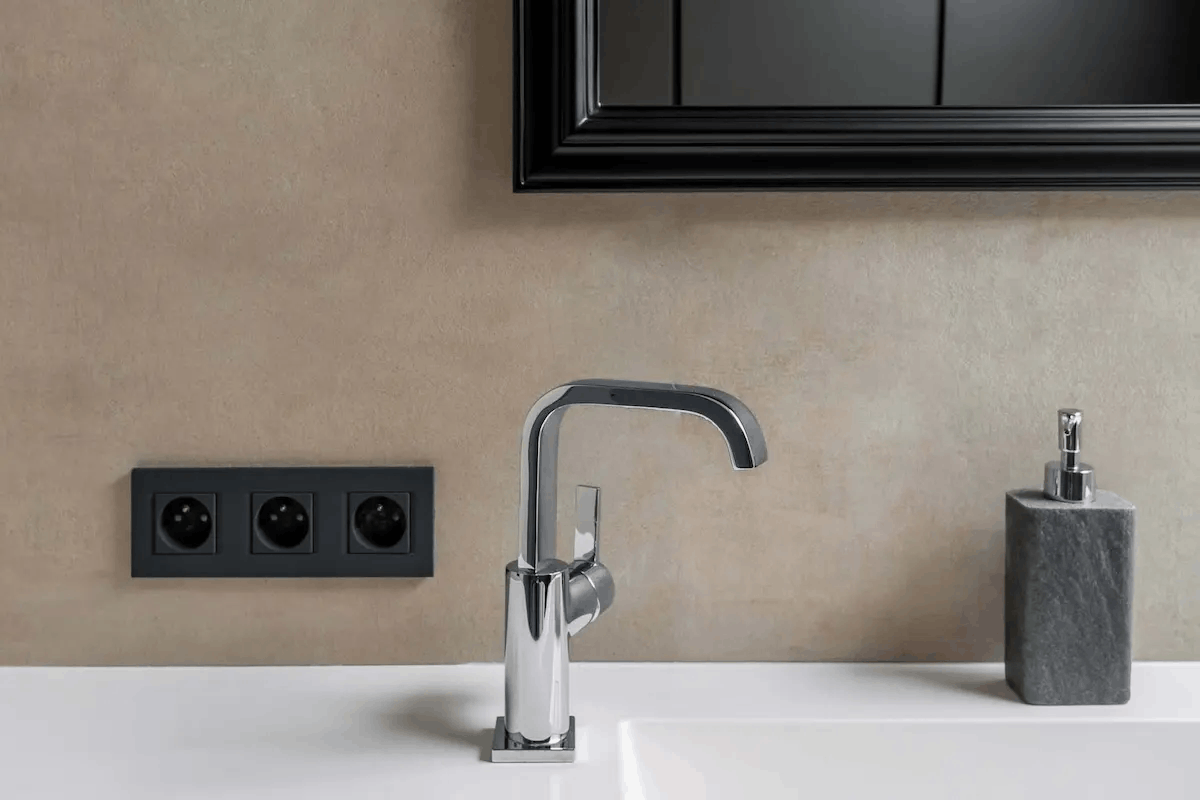
Our ready-to-use microcement, in its original state, can withstand running water and humidity. However, when you apply the Smart Varnish polyurethane sealer, it further enhances this resistance, making it particularly suitable for kitchens and bathrooms. It's important to note that this resistance is designed for occasional contact with water; stagnant water should be avoided.

Thanks to its technical characteristics and very simple maintenance, microcement remains in perfect condition for many years.

Cleaning and care of microcement

Smartcret is incredibly easy to clean. A simple solution of water and pH-neutral soap is sufficient for regular cleaning. However, for a professional result and to preserve all the properties of the microcement, we offer Smart Cleaner and Smart Wax. These exclusive products are specifically designed for the care, maintenance, and cleaning of microcement.

  • Avoid puddles and continuous contact with moisture.
  • Keep surfaces free from elements like stones or grit that could scratch it.
  • Try not to strike it with hard or blunt objects.
  • Clean it with mild products, avoiding harsh cleaners. To maintain its protective film, avoid ammonia, chlorine, bleach, and soaps.
  • Initially, tread carefully on the surface starting two days after sealing to ensure hardness and chemical resistance.
  • After the initial phase, it is recommended to periodically wax with our maintenance wax, Smart Wax, using pass-through mops.

Smartcret Microcement Application

SMARTCRET Do It Yourself is designed for easy use, eliminating the need to mix multiple components. It's an ideal product for DIY enthusiasts. Additionally, our kit includes a step-by-step guide and there are video tutorials online, making the application process even simpler.

Before applying Smartcret, it's essential to prepare the surface with a primer.

Smartcret is applied in several layers using a roller and a trowel, suitable for indoor use on leveled and consolidated vertical and horizontal surfaces.

Thin coats are crucial to prevent cracks. It's important to adhere to the specified drying times outlined in the step-by-step instructions for each surface.

Once the product is dry, it should be sealed with Smartcret Varnish.

If the surface to be coated has grout joints, it is necessary to level the surface by filling them with our Smart Jointer.

No, the most crucial aspect is to apply the material in a thin layer and always adhere to the specified drying times. The addition of mesh or profiles necessitates a thicker layer to cover them, which in turn delays drying and affects hardness.

However, it's imperative to ensure that the substrate is in good condition before applying the product. If the substrate is damaged or in poor condition and microcement is applied on top, it will crack. This issue arises due to the poor condition of the substrate, not because the mesh is unnecessary.

Yes, before starting the application, it is necessary to stir SMARTCRET Do It Yourself. Our products are available in 6 buckets to facilitate manual mixing by spatula, but if you have the possibility to use a mechanical mixer, it's even better.

If you need to temporarily stop applying the product and want to preserve its properties, simply cover the surface of the bucket with a plastic film to prevent the product from being exposed to air and drying out. Afterward, ensure the bucket is tightly closed and store it in a cool place away from direct light sources.

Smartcret offers many possibilities and can be applied on all types of surfaces and materials: tiles, terrazzo, plaster, cement, etc.

Yes, you can paint over microcement. It's important to note that the Smart Varnish sealer is designed to repel dirt and other materials to protect the microcement. However, you can easily paint over it without any issues by sanding the surface beforehand.

Smartcret should be applied to smooth and leveled surfaces. If you intend to apply the product over a stippled surface, it's necessary to level the surface or remove the stippling beforehand.

Each stage of the Smartcret application process has its own drying time. However, in general, Smartcret dries quickly, significantly reducing the time required for the entire renovation process compared to traditional methods. For specific drying times, refer to our step-by-step guide.

Each stage of the Smartcret application process has its own drying time. However, in general, Smartcret dries quickly, significantly reducing the time required for the entire renovation process compared to traditional methods. For specific drying times, refer to our step-by-step guide.

If you have DIY skills, you'll likely find the job easier. However, even without prior experience, you can successfully complete the project by following our step-by-step guide.

Both of these primers are water-based acrylic primers. However, Smart Primer ABS is designed for porous surfaces, ensuring even absorption across the entire area. In contrast, Smart Primer PLUS is intended for non-absorbent surfaces, enhancing adhesion with the microcement.

Problems with Microcement

One of the most common misconceptions about microcement is that it easily cracks, but this is not true. The issue of microcement cracking typically stems from the quality of the substrate and incorrect application methods. However, with high-quality materials and proper application techniques, cracking should not occur. Our product effectively addresses this concern, ensuring a crack-free result.

Microcement is not prone to scratching. Proper protection and care are essential. If applied to high-traffic surfaces like floors, extra attention and care are necessary, particularly regarding the application of varnishes. At Smartcret, our Smart Varnish helps safeguard against scratches and maintain the integrity of the microcement.

Microcement doesn't have to be prone to staining. It's essential to protect and take care of it. Like any other material, immediate cleaning is necessary for oil, coffee, or food residues. If applied to a high-traffic surface like the floor, extra consideration and care are required, particularly with the application of varnishes. At Smartcret, we offer our Smart Varnish sealer.