Ready to use microcement


Where Can Ready-to-Use Microcement Be Applied?


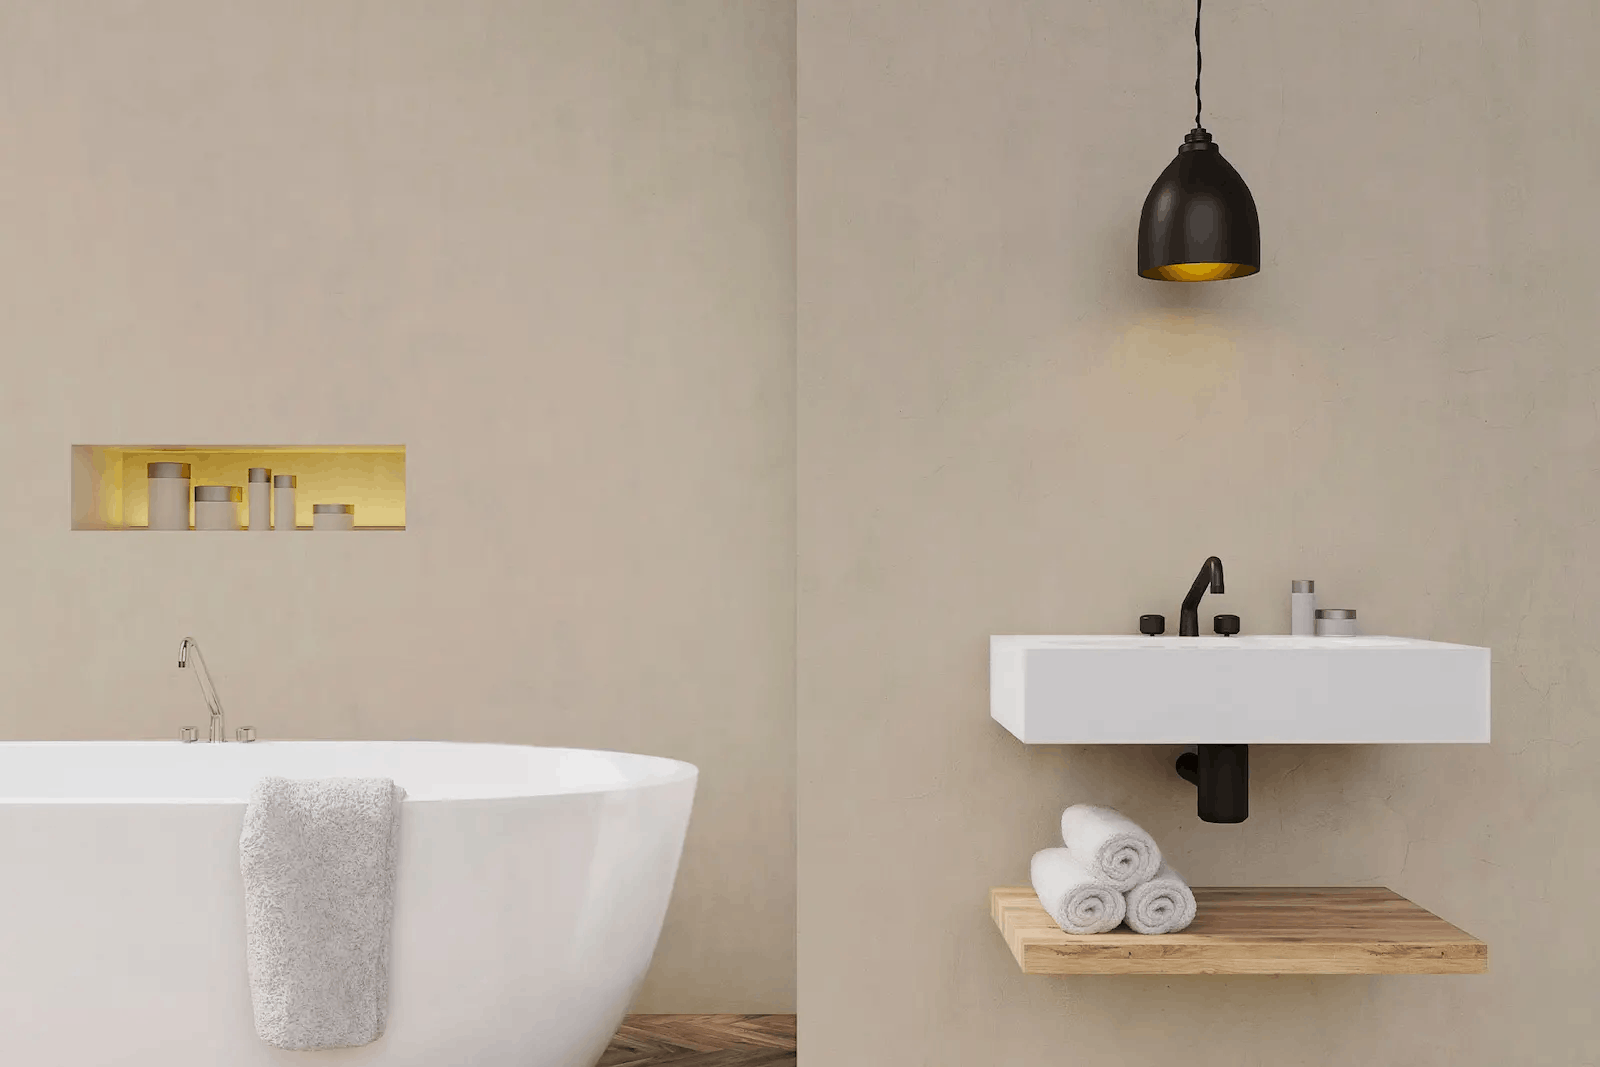
Ready-to-use Microcement in Bathrooms
Ready-to-use microcement in bathrooms is a popular choice for home renovations. Its seamless finish and uninterrupted flow are perfect for smaller spaces like bathrooms.
The lack of grout lines and the option to create a seamless transition between floors, walls, and even the shower are key perks of microcement. That's why it's a go-to choice for bathroom renovations!


Characteristics of Smartcret Ready-to-use Microcement.
-

Quick Application
With a thickness of only 3 millimeters, our product allows for speedy renovations without the need for construction work, all accomplished in just five easy steps.
-

Fast Drying
Our microcement boasts an exceptionally rapid drying process. After application, you can expect normal foot traffic in just one week.
-

Easy Application
No need to mix any components – our product is pre-prepared for use, making application straightforward.


-

Adhesion to All Types of Substrates
Smartcret can be applied to a wide range of substrates, including cement mortar, self-leveling, terrazzo, marble, tile, plaster, or gypsum. It's suitable for both vertical and horizontal surfaces.
-

Flexible and Seamless
Despite its thinness, Smartcret microcement exhibits high mechanical strength in compression and bending, ensuring a seamless finish that won't crack over time.
-

High Resistance to Abrasion
Our microcement stands out for its excellent mechanical properties, resulting in a finish with great durability and strong resistance to abrasion.


-

Easy Maintenance and Cleaning
Smartcret surfaces are easy to clean and maintain. Simply use water and neutral soap to keep them looking fresh and hygienic.
-

Eco-Friendly
Manufactured with mineral components and natural pigments free of toxic elements, Smartcret is environmentally friendly and leaves no negative impact during production.
-
High Scratch Resistance
Contrary to common myths, Smartcret microcement does not scratch easily. With proper care, you can enjoy its technical and aesthetic benefits for years to come.


Colores Disponibles
Introducing the Elegance Collection, choose from our range of 20 colors for the color most suited to the renovation of your dreams.
SAND-COLOURED MICROCEMENT
Sand colours are a safe bet when it comes to creating warm and cosy atmospheres. These refreshing and very natural tones know neither season nor fashion. They give the living room, bathroom, kitchen or any room a hue that conveys joy, grace, elegance and homely warmth. They also radiate a sophisticated warmth that transforms every room into a haven of light and harmony. It is the perfect ally for enlarging space, enhancing depth and personalising home décor.
BROWN MICROCEMENT COLOR
The range of brown tones stands out for radiating well-being, relaxation and warmth. It is the ideal tone to create traditional and cosy atmospheres, where you can enjoy a well-deserved rest. Brown colours integrate perfectly with lighter shades, allowing the creation of spaces that merge serenity and joy. Decorating with them is synonymous with a visual renewal that brings sophistication and comfort to the home
GREY MICROCEMENT COLOR
Grey is a versatile color that offers endless possibilities with microcement. Darker shades exude elegance and serenity, while lighter hues create a luminous and youthful feel. With a wide spectrum of greys available, there's something to suit every taste and decorative preference, as they effortlessly blend with many other colors. This range of neutral tones provides excellent contrast in styles characterized by clean lines and visual simplicity. It's no wonder grey is one of our favorite colors! Choosing grey tones for microcement translates into the creation of a relaxing atmosphere that's perfect for unwinding.
MICROCEMENT WHITE COLOR
White takes the spotlight in decoration and interior design, and for good reason! It's a classic that never goes out of style, and we can't get enough of its elegance, warmth, and a serenity. With our white microcement, you'll get spaces that are pure and full of light, giving off that constant feeling of tranquility. There's nothing like the comfort of home, right? Plus, white is timeless, making it the perfect backdrop to highlight other decor elements and when paired with other shades, it creates stunning contrasts that catch the eye. If you're craving a cozy space like never before, white is the way to go. It sets the stage for inviting and harmonious environments, giving off those Mediterranean vibes that transport you to a sunny Santorini getaway. And the best part? For a bargain price!
MICROCEMENT GREEN COLOR
Green, oh how we adore you! You bring character to spaces, creating a relaxing, refreshing, and energizing atmosphere. It's like having a mini oasis right in your home - a breath of fresh air that's deeply connected to nature and speaks volumes about who we are. Turn your home into a sanctuary of relaxation and disconnection with our green microcement.
MICROCEMENT BLUE COLOR
If there is another colour that evokes nature, it is undoubtedly blue microcement. A shade that promotes happiness, as is reforming your home without building work. Blue is full of possibilities. A neutral and grateful colour wherever you put it: floor, walls, ceiling... The space will gain a feeling of spaciousness like the infinite sky and sea. Boost your creativity with pastel blue.
NCS:
How to apply Smartcret ready-to-use microcement: a step by step guide
APPLYING MICROCEMENT IN KITCHENS, BATHROOMS AND SHOWERS
You design it. You apply it. And yes — you enjoy it too. And when guests come over? Time to show off!Pick your favourite colour, hit play on your best playlist and in just a few days… bam! New kitchen. Shower that feels amazing. And a bathroom straight out of Pinterest. All done with your own two hands and our ready-to-use microcement. Follow these steps to apply microcement in your bathroom, shower or kitchen. You’ve got this!

1
Paso

CLEAN AND PREP THE SUBSTRATE
-
 Make sure the surface is clean and dry, free from any dust or grease.
-
 Use masking tape to mark out the area where you'll be applying the microcement.


2
Paso

FILL THE GROUT JOINTS WITH SMART JOINTER
-
 If your substrate hasn't got seams, skip this step!
-
 Fill the grout joints with 1 coat of Smart Jointer using a spatula or trowel.
-
 Allow 24 hours of drying time.
-
 Sand the surface with a 40-grit sandpaper.


3
Paso

APPLY SMART PRIMER
-
If your surface is absorbent (plaster, drywall, concrete etc.) use Smart Primer ABS.
-
 If your surface is non-absorbent (tile, ceramic, terrazzo etc.) use Smart Primer PLUS.
-
Pour the product into a tray.
-
 Roll on a coat of Smart Primer using the roller.
-
Allow 30 minutes for it to dry.
-
 Clean the roller with water immediately after use to prolong its life.


4
Paso
APPLY SMART BASE
-
Stir the product manually with a spatula until it's evenly mixed.
-
Dip the Smart Roller into the Smart Base and spread the microcement thinly. Smooth it out with the trowel.
-
Remove and apply masking tape between layers.
-
Allow 6 hours of drying time between each layer.
-
Sand after each layer using a 40-grit sandpaper, don't leave any microcement ridges!
-
Apply a total of two layers of Smart Base.

5
Paso
APPLY SMART LISO
-
Stir the product manually with a spatula, then reapply the masking tape to mark off the surface.
-
Repeat the same process with the Smart Liso. Use the Smart Roller and the trowel to spread the microcement thinly.
-
Remove the masking tape.
-
Allow 6 hours between each layer for drying.
-
Sand after each layer using a 220-grit sandpaper.
-
Apply a total of 2 layers of Smart Liso.

6
Paso
MIX SMART BOOSTER WITH SMART VARNISH
-
Wait 24 hours after applying Smart Liso.
-
Add Smart Booster to the Smart Varnish container.
-
Gently shake the container manually for a few minutes.
-
Let the mixture sit for 5-10 minutes before application.

7
Paso
PROTECT YOUR SURFACE WITH SMART VARNISH
-
Apply masking tape again to mark the area.
-
Once the Smart Varnish mixture is ready, apply the first coat.
-
Apply 3 coats in total. The mixture has a shelf life of 24 hours, allowing it to be used for the second and third coats.
-
Remove the masking tape.
-
Allow 4 hours of drying time between coats.
-
We recommend sanding the first and second coat with a 400-grit sandpaper.
*Important: We recommend waiting 7 days for the varnish to reach its maximum resistance.

APPLYING MICROCEMENT ON WALLS
You’ve been dreaming about it for so long… you’re tired of just imagining it! Especially every time you walk into the room and see those plain, boring walls. They’re out of style. What’s in now? Texture, character, and personality — exactly what you’ll get by applying microcement on your walls. All you need is a bit of time, lots of motivation, and ready-to-use microcement. Ready for a DIY makeover?

1
Paso
CLEAN AND PREP THE SUBSTRATE
-
Make sure the surface is clean and dry, free from any dust or grease.
-
Use masking tape to mark out the area where you'll be applying the microcement.

2
Paso
APPLY SMART PRIMER
-
Pour the product into a tray.
-
Roll on a coat of Smart Primer ABS using the roller.
-
Allow 30 minutes for it to dry.
-
Clean the roller with water immediately after use to extend its life.
3
Paso
APPLY SMART LISO
-
Stir the product manually with a spatula until it's evenly mixed.
-
Dip the Smart Roller into the Smart Liso and spread the microcement thinly. Smooth it out with the trowel.
-
Remove and apply masking tape between layers.
-
Allow 6 hours of drying time between each layer.
-
Sand after each layer using a 220-grit sandpaper, don't leave any microcement ridges!
-
Apply a total of three layers of Smart Liso.
4
Paso
PROTECT YOUR SURFACE WITH SMART VARNISH
-
Wait 24 hours after applying Smart Liso.
-
Apply masking tape again to mark the area.
-
Apply 3 coats of Smart Varnish using a roller.
-
Remove the masking tape.
-
Allow 4 hours of drying time between coats.
-
Sand the first and second coat with a 400-grit sandpaper (recommended).
*Important: Allow 7 days for the varnish to reach its maximum resistance.