If you've ended up here, there's no doubt that you're a DIY enthusiast. So, welcome! It's also very likely that you've heard of that decorative industrial-style finish called microcement. Industrial, at times. Because if there's one thing that characterizes this coating, it's its versatility. We could talk at length about this, but that's another fascinating topic you'll find in our blog. We have plenty to share, but we don't want to ramble.
The absence of construction work and the fact that you can renovate your home yourself, at least with Smartcret, has made all your prayers heard and made you want to know a little more about how this material is applied. And here lies the crux of the matter: depending on the news you read and/or the video you watch, the process changes. And that's why you ask yourself the million-dollar question: should microcement be applied with mesh or not? It depends. It may seem that every expert has their own approach (we're not bold enough to contradict anyone), but the reality is that the type of microcement will determine whether mesh is necessary or not.
We'll let you in on a secret: unlike other microcements, ours doesn't require the use of mesh. And why is that, you may wonder. Keep reading, and you'll find out. In this article, we explain what mesh for microcement is, what types exist, and the reasons why it's unnecessary with Smartcret (among many other things).
Forget about unnecessary complications and discover how easy it is to completely transform your home from top to bottom with our professional-grade microcement for homeowners. Let's go!.
Qué es una malla para microcemento y para qué sirve
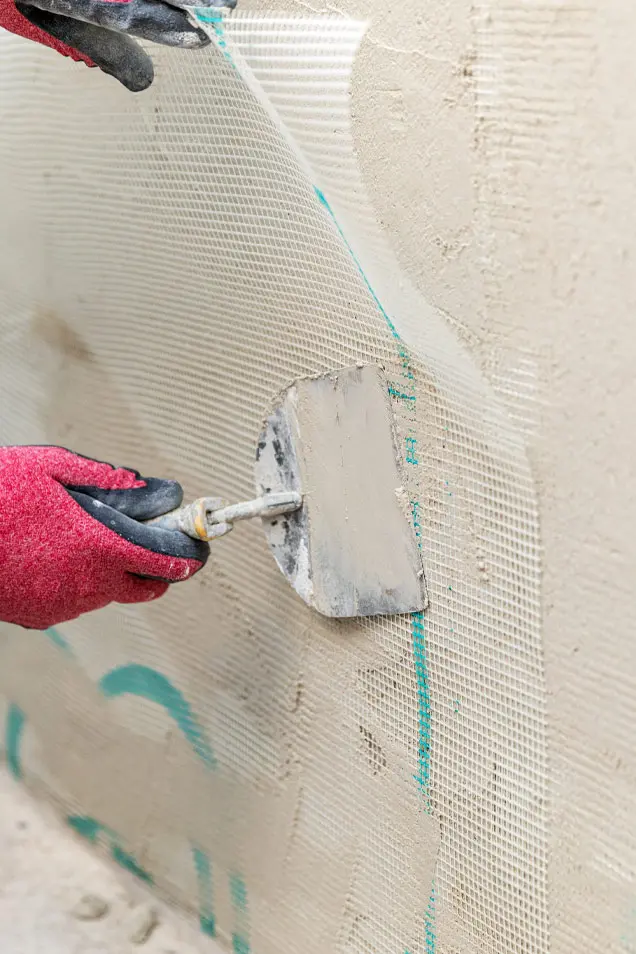
Let's start from the beginning. The mesh for microcement is a fundamental complement for a reliable installation process. Its main function is to prevent the appearance of cracks and fissures in the new coating over time. It is especially important in areas prone to structural movements and tensions.
By placing the mesh on the fresh microcement, the risk of the new coating cracking is minimized, particularly on surfaces exposed to vibrations, temperature changes, and heavy loads.
But beyond being a reinforcement to prevent surface cracks, the mesh significantly improves the adhesion of microcement, especially on walls. It also contributes to its overall durability.
It is one of the most commonly used materials in the construction industry due to how it helps stabilize the new support and reinforce walls, floors, and ceilings. Additionally, it increases impact resistance and withstands moisture.
However, as we have specified in previous paragraphs and reiterate in this one, the use or non-use of mesh depends on the type of microcement and its specific requirements. For instance, Smartcret's ready-to-use microcement is formulated to be applied without mesh while maintaining its strength and durability.
Types of meshes for microcement
Tip to avoid being a novice (always with affection): the substrate must be level, dry, and free of dust. If it's not, get prepared before installing the mesh.
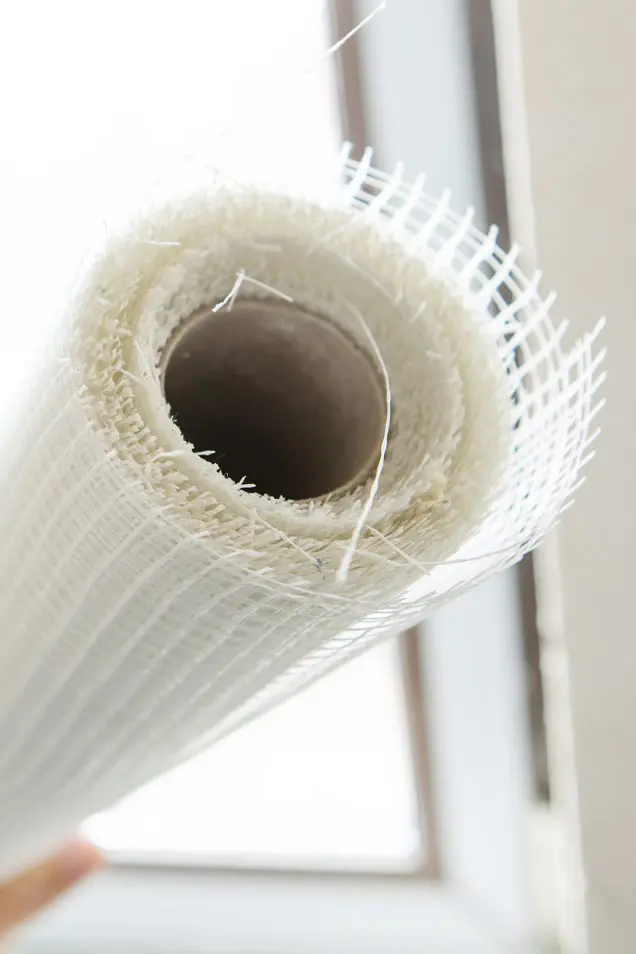
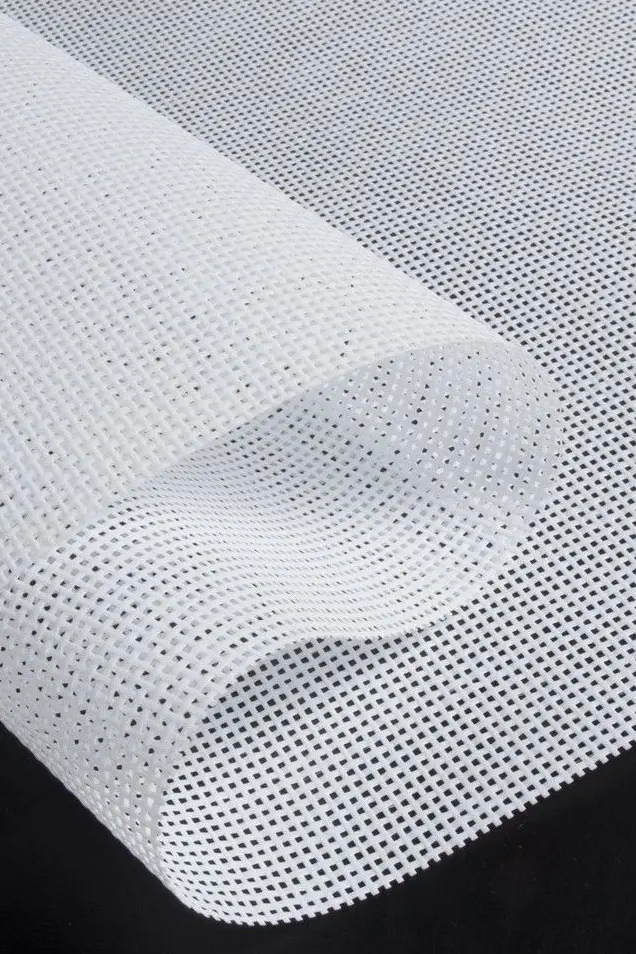
Back to the topic, as things are getting out of hand. There is not just one type of mesh for microcement. There are mainly two models in the market: fiberglass meshes and polyester meshes.


Both are easy to manipulate, flexible, and lightweight. They have the ability to absorb expansions resulting from temperature changes and do not rust or get damaged when in contact with microcement. Below, we briefly discuss the most important differences between them.
Fiberglass Mesh for Microcement
Fiberglass meshes are the most common and widely used in microcement works. They are known for their high strength and durability. They are composed of glass fibers woven into a net-like structure. This type is excellent for floors subjected to heavy traffic, including vehicles, as well as in damp areas or exposed to chemical agents.
Polyester Mesh for Microcement
Less common but more flexible and easier to handle. Unlike fiberglass, polyester meshes are made of synthetic fibers that are interwoven. They are also more cost-effective, but their structural surface tensions must be lower due to their lower strength.
4 reasons why mesh should not be used with Smartcret microcement
"Happiness is knowing how to appreciate the simple things in life" and "The simplest things are the ones that bring the most happiness and endure over time." Two sayings that fit perfectly with the Smartcret philosophy. It is a product that is easy to apply (and faster, as it is ready to use and does not require mesh), completely Do It Yourself, and its finish lasts over time thanks to its durability.
We tend to get carried away again. We can't help it! So let's get straight to the point. Next, we will justify the four reasons why mesh for microcement is not part of the Smartcret equation.
1. Applied in a very thin layer
The thicker the layer, the higher the possibility of cracks. This is why microcements with thicker granulometries and larger grain sizes always require the use of microcement mesh. With Smartcret, this is not the case because it is a product that needs to be applied in a very thin layer. The finish is super smooth to the touch.
2. More flexible than other microcements
One of the advantages of our microcement is its flexibility. Being ready to use has its benefits, as other products with more components see their flexibility reduced. It's not like Flubber, but almost.
3. No need for extra reinforcement
It's important to remember that microcement mesh is simply a reinforcement element. In Smartcret, the mechanical and chemical properties of our microcement are already guaranteed. It doesn't need mesh because it doesn't require that additional reinforcement. And the added benefit is that the application process is much shorter, a win-win situation.
4. Different formulation from other ready-to-use microcements
If you have seen other ready-to-use microcements that require mesh, don't worry. You didn't dream it, and we haven't lost our minds (yet). We are sane. Formulation is the key when it comes to microcement.
The formulation of Smartcret is different. The aggregates, resins, and quartz loads are more balanced, and that's why microcement mesh is not necessary.
How to apply Smartcret microcement without mesh
1. Clean and prepare the surface before applying microcement
Clean, clean, clean. Clear the wall or floor of dust and grease before applying microcement. Watch out! If the substrate has any imperfections or chipping, repair them beforehand. All set? Use adhesive tape to delimit the area where you'll be applying the product, and let's get to work!
*Important: You'll need to apply the adhesive tape before applying any products, and remove it when it's still wet and the drying period is about to begin.
2. Prime the wall or floor to ensure the adhesion of the microcement
Our microcement adheres perfectly to any substrate of any material (except wood and parquet). The only thing you need to consider is the type of surface you're working with. Is it absorbent, like plasterboard or plaster? Or non-absorbent, like tiles or marble?


To apply microcement on an absorbent surface, apply 1 coat of SMART PRIMER ABS using a roller. Let it dry for 30 minutes, and then you can start with the coating.
Installing microcement on a non-absorbent surface requires a few more steps, but it's just as simple. Fill the joints with 1 coat of SMART JOINTER and let it dry for 24 hours. Sand the surface with a 40-grit sandpaper. Next, apply 1 coat of SMART PRIMER GRIP using a roller. Allow a drying time of 2-4 hours.
3. Use SMART BASE microcement for the initial coats
Got the stainless steel trowel under control? Grab it and apply 2 coats of SMART BASE, our ready-to-use microcement for preparation. It comes fully pigmented in the color of your choice and is ideal for creating a solid base. Allow 6 hours between coats and sand them with a 40-grit sandpaper.
4. Use SMART LISO microcement for the final coat
You're entering the final stretch of the process. If you've been enjoying it so far, the final finish will captivate you. Check your toolkit and grab the rubber trowel. With it, apply 2 coats of SMART LISO, our ready-to-use microcement for finishing.
Prepared with the same color but with a much finer grain, it's responsible for the incredibly smooth finish you're about to discover. Repeat the 6-hour drying time between coats and, this time, sand them with a 220-grit sandpaper.
5. Protect your microcement with SMART VARNISH
Yippee! The end is near. 24 hours after applying the last coat of SMART LISO, seal the microcement wall or floor with 3 coats of our SMART VARNISH sealer In bathrooms, we recommend applying up to 4 coats to increase resistance against running water (occasional contact, not stagnant water).
Allow approximately 4 hours of drying time between coats. You'll only need to sand the first and second coats using a 400-grit sandpaper. Et voilà! Your first DIY renovation without major construction work is complete.
Si a ti también te ha entrado el gusanillo, corre a nuestra tienda y pide ya tu kit. Tienes más de 30 colores disponibles en acabado mate y satinado.